Managing users
How to register, edit, remove and restore users
Registering new users
User administrators can register new users in SEAD. Administrators should create the user organisation before beginning this step. Start by clicking on the ‘Users’ tab from the left side navigation panel.
Fig. 1. Users tab
You will be presented with the ‘Users’ page which showcases all registered users within your SEADpod. You can also download a CSV report of all registered users by clicking Export (circled red). To continue to the registration process, you will need to click on the ‘New User’ button presented at the top of the ‘Users’ page.

Fig. 2. New user button in Users page
This will direct you to the new ‘User Registration Form’. All fields within the form are required to be populated except for ‘Tags’. It is recommended to use a standardised format or prefix for the username i.e. firstname.lastname. A username can only be used once. When creating a user account if you encounter the following message: ‘an account with this username already exists’ this is due to those credentials already being utilised in another SEADpod. Once you have populated the registration form with the new user’s details select ‘Submit’.
NOTE: Any leading or trailing spaces may cause the registration to fail.
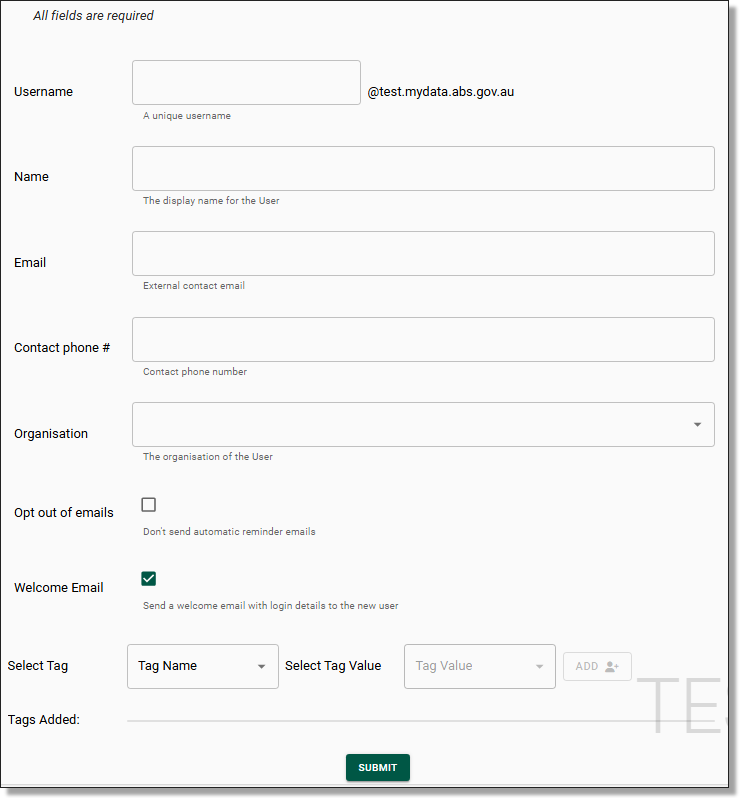
Fig. 3. New user registration form
Once you have selected ‘Submit’, you will be asked to confirm that you wish to create a new user. If creating a new user is your intention, proceed by selecting ‘Yes’.
NOTE: The user registration form provides the opportunity to ‘opt out of emails’, these emails are system generated emails that notify users of failed actions, impending rebuilds and other system related tasks. By default, users will receive these system emails. Users can opt out of this.
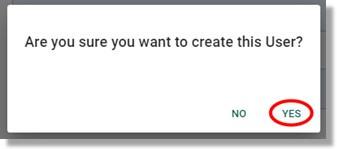
Fig. 4. Create user confirmation
After confirming that you want to create a new user, a pop-up message will appear to show that the account is being created. It also advises that the users log details will be sent to them via an automated email. The user will shortly receive an email containing their SEAD username and a temporary, single use password that they will be prompted to change when they first login.
NOTE: If the 'Welcome Email' option is not selected during account creation, an email will not be generated. To send the welcome email to the user manually, administrators can navigate to the user’s profile and select the 'Send Welcome Email' button. This email can only be sent once.
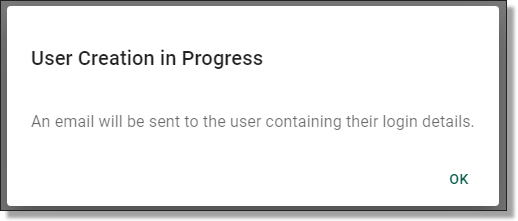
Fig. 5. User creation in progress pop-up
You will be presented with a notification banner at the top right of your screen advising that the new user creation is in progress. You can follow the progress of this task by clicking the ‘Logs’ button within the notification.

Fig. 6. Create user task in progress notification banner
Selecting the ‘Logs’ button will redirect you to the ‘Action Log’ which showcases all actions undertaken within the SEADpod. The ‘Action Log’ will display when the user’s profile has been successfully created.

Fig. 7. Create user status in Action Log
NOTE: To access the system, users will need their log in details and the supported multi-factor authentication app, Microsoft Authenticator.
Edit existing users
User administrators can modify all registration details for an existing user, except for the username. This includes the user's name, email, contact number, organisation, and associated tags. To edit these details, navigate to the ‘Users’ page by selecting the ‘Users’ tab from the side navigation panel. On the Users page, select the user you wish to edit by selecting their hyperlinked username. If the user is not immediately available, type their name into the search bar.
Selecting the hyperlinked username will direct you to that user’s information page which showcases their basic attributes, virtual machines, account settings, and associated tags. To edit the users account information, click on the ‘Edit’ button at the top right of the page.
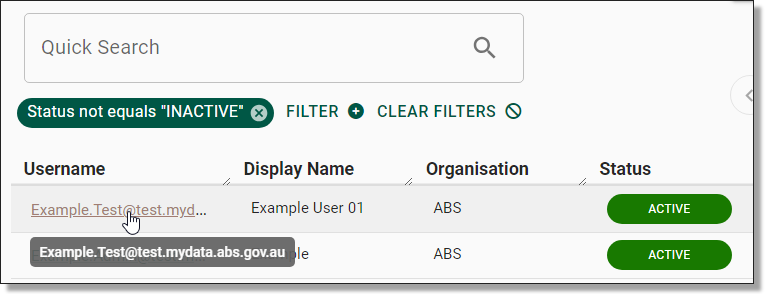
Fig. 1. Selecting the user
TIP: If you are having difficulty finding a user that has an existing account, try deselecting the "Status not equals ‘Inactive'" search filter from beneath the search bar. By doing so, all users, irrespective of whether they are active or not will appear in your results.
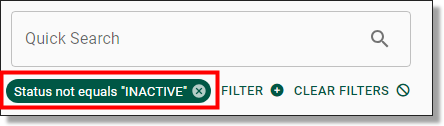
Fig. 2. Deselecting inactive users filter
Selecting the ‘Edit’ button will redirect you to the ‘Update User’ page which follows the same template as the user registration form. All fields can be modified with the exception of the username. Make your updates, then select ‘Submit’’.

Fig. 3. Edit button on user page
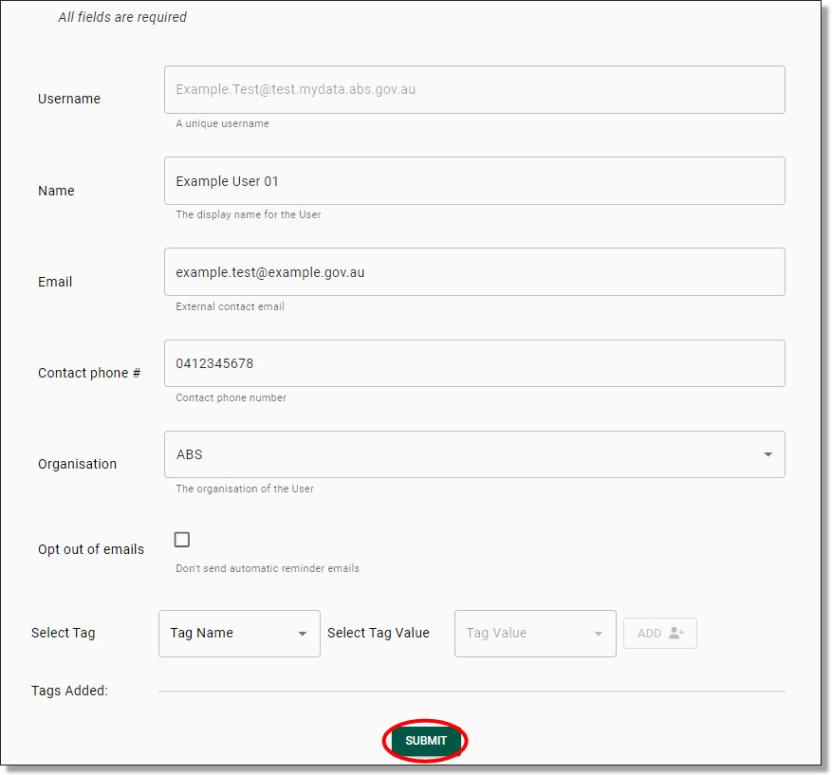
Fig. 4. Update user page
Once you’ve pressed ‘Submit’, you will be asked to confirm that you wish to update the user. If this is your intention, proceed by clicking ‘Yes’.
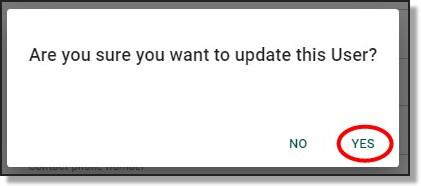
Fig. 5. ‘Are you sure you want to update this User?’ notification
All actions undertaken within SEAD will display a notification banner in the top right advising that the requested task is in progress. In this instance, the task was completed instantly, and therefore, the notification advises that the task was successful. You can click the ‘Logs’ button within the notification to view the task in the ‘Action Log’.

Fig. 6. Task succeeded notification
Within the ‘Action Log’, you can view the changes made to the user by looking at the ‘Remarks’. You can also view the changes to the user’s information by navigating back to the user’s page.

Fig. 7. Action Log remarks
Disable users
As a User administrator, you can disable a user’s account. This removes their access to the SEAD environment and the user interface, while retaining the account information itself. Disabled accounts can be enabled later if needed (refer to Restore users). To disable a user’s account, navigate to the ‘Users’ page by selecting the ‘Users’ tab from the side navigation panel. On the ‘Users’ page, select the account you want to disable by selecting hyperlinked username or by searching for their name in the search bar.
NOTE: A disabled account will still incur a license charge. It is therefore recommended that users are evicted (refer to Evict Users) rather than disabled. To understand the difference, refer to Frequently Asked Questions.
Selecting the hyperlinked username will direct you to that user’s information page which showcases their basic attributes, virtual machines, account settings and associated tags. To disable the user’s account, click on the ‘Disable’ button at the top/centre of the page.

Fig. 1. Disable user button
Once you have selected ‘Disable’, you will be asked to confirm the action. If disabling the user is your intention, proceed by clicking ‘Yes’.
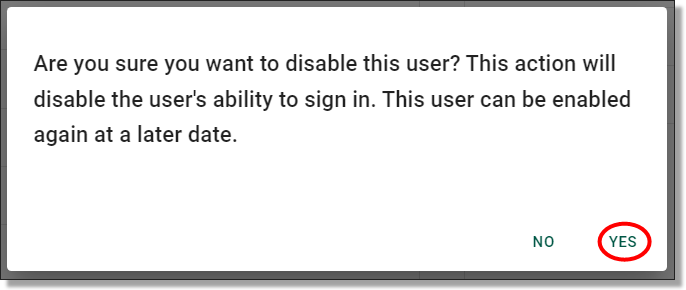
Fig. 2. Disable user confirmation
You will be presented with a notification banner advising that the requested task is in progress, followed by a notification advising the completion of the task.
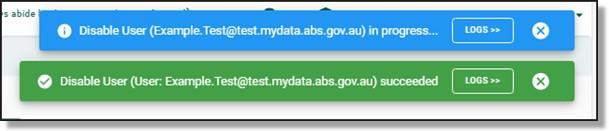
Fig. 3. Disable user notification banners
Once a user account has been disabled, the user’s status will update to ‘Disabled’ from the Users page.

Fig. 4. Disabled user status
Evict users
User administrators can evict users. Evicting a user removes their access and closes their account. Administrators can restore the account later, but the user will need to go complete the account setup processes again (i.e. password and authentication). To evict a user, navigate to the ‘Users’ page by selecting the ‘Users’ tab from the side navigation panel. On the ‘Users’ page, select the user you want to evict by selecting their hyperlinked username.
NOTE: A user must first be removed from all projects before they can be successfully evicted from SEAD. To remove a user from all projects, refer to Removing users from a project.
Selecting the hyperlinked username will direct you to the selected user’s information page which displays their basic attributes, virtual machines, account settings and associated tags. To evict the user, click on the 'Evict’ button at the top/centre of the page.

Fig. 1. Evict a user button
Once you have selected ‘Evict’, you will be asked to confirm the action. If evicting the user is your intention, proceed by clicking ‘Yes’.
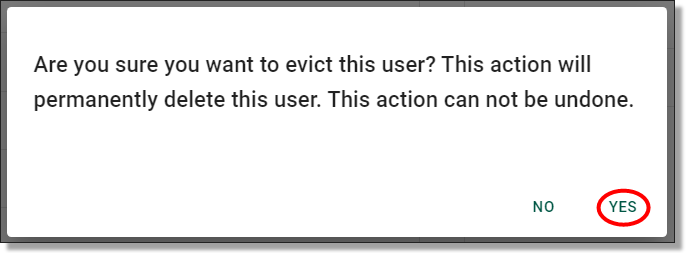
Fig. 2. Evict a user confirmation button
You will be presented with a notification banner advising that the requested task is in progress. In this instance, the task was completed instantly, and therefore, the notification advises that the task was successful. You can click the ‘Logs’ button within the notification to view the task in the ‘Action Log’.
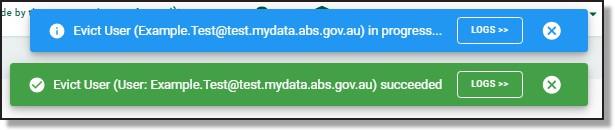
Fig. 3. Task succeeded notification
Once a user account has been evicted, their account will no longer be immediately visible from the users page. However, this does not mean that the record of their account has been permanently deleted. You can still find records for evicted users by searching for that user's name in the search bar. Be aware that in order to find the evicted user’s information, you will need to deselect the ‘Status not equals “inactive”’ filter from beneath the search bar.

Fig. 4. Removing inactive users filter
The user account status will show as ‘Inactive’ from the users page. You can still view the user’s information by clicking on their hyperlinked username.
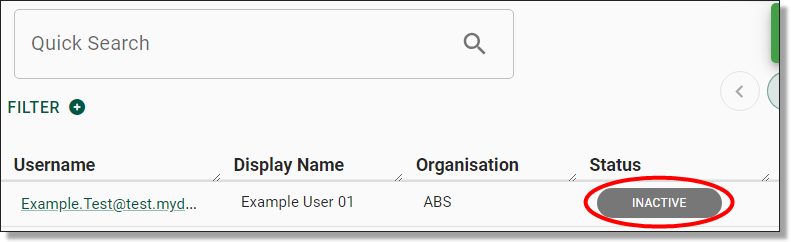
Fig. 5. Inactive user status
Restore users
User administrators can restore an evicted user’s account. To restore an account, navigate to the users page by selecting the ‘Users’ tab from the side navigation panel. On the users page, search for the evicted user using the search bar. To make the user visible in the results, clear the ‘Status not equals “inactive”’ filter.

Fig. 1. Deselecting inactive users filter
Once you have located the evicted user, open their user information page by selecting their hyperlinked username.

Fig. 2. Hyperlink to access user information
On the user’s information page, select the ‘Restore’ button at the top of the page.
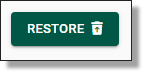
Fig. 3. ‘Restore’ button for evicted user
After selecting ‘Restore’, you will be asked to confirm the action. If restoring the user is your intention, proceed by clicking ‘Yes’.
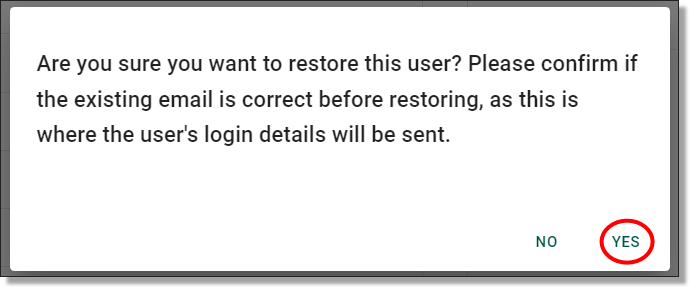
Fig. 4. Restore a user confirmation button
You will be met with a pop-up message will appear to show that the account is being restored. It also advises that the users login details will be sent to them via an automated email. The user will shortly receive an email containing their SEAD username and a temporary, single use password that they will be prompted to change when they first login.

Fig. 5. Restore user automatic email notification
Check that the restoration of the user account was successful by paying attention to the action status banners or checking the 'Action Log'.

Fig. 6. Task status notification

Fig. 7. Action Log
The user account status will now show as ‘Active’ from the users page.

Fig. 8. Active user status
Enable users
Accounts that have been disabled by a User administrator (refer to Disable users), or automatically disabled after 45 days of inactivity, will need to be enabled by a User administrator.
To enable a disabled account, navigate to the users page by selecting the ‘Users’ tab from the side navigation panel. On the users page, search for the disabled user using the search bar. Select the user you want to enable by clicking on their hyperlinked username.
You will be directed to the selected user’s information page which displays their basic attributes, virtual machines, account settings and associated tags. To enable the user’s account, select the ‘Enable’ button at the top of the page.

Fig. 1. Enable user button
Once you’ve pressed ‘Enable’, you will be asked to confirm the action. If enabling the user is your intention, proceed by clicking ‘Yes’.
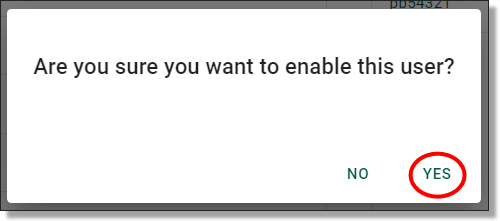
Fig. 2. Enable a user confirmation button
You will be presented with a notification banner advising that the requested task is in progress. The task was completed successfully and can be viewed from the ‘Action Log’ by clicking the ‘Logs’ button within the notification.
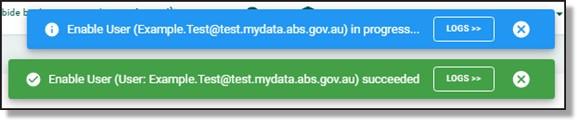
Fig. 3. Task status notification
Resetting user passwords
User administrators can reset passwords for SEAD users. Navigate to the users page from the side navigation panel. On the users page, select the user whose password you want to reset by clicking on their hyperlinked username. If the user is not immediately available, type their name into the search bar.
NOTE: Pod Owners can reset administrator passwords. Refer to Reset administrator password.

Fig. 1. Selecting the user
Selecting the hyperlinked username will direct you to the selected user’s information page which displays their basic attributes, virtual machines, account settings and associated tags. To reset their password, select the ‘Reset Password’ button on the centre/top of the page.

Fig. 2. Reset Password button
Selecting ‘Reset Password’ will prompt a confirmation window, select ‘Yes’ to proceed.
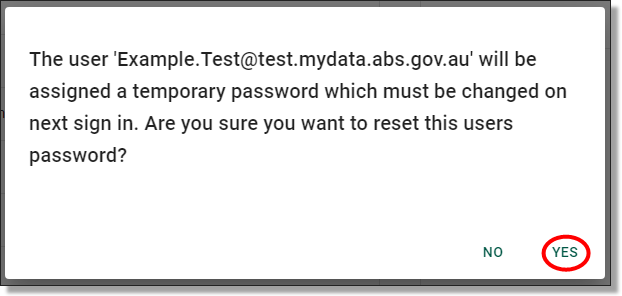
Fig. 3. Password reset confirmation window
A pop-up message will confirm the password has been reset. The user will receive an email with a temporary password which they will be prompted to change the next time they sign in.
NOTE: The temporary password is valid for 90 days
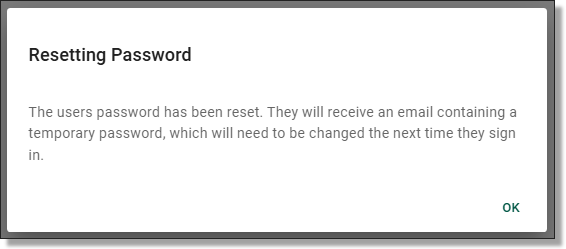
Fig. 4. User password has been reset notification

Fig. 5. Task status notification
Resetting user MFA
User administrators can reset the Multi-Factor Authentication (MFA) for SEAD users. Resetting a user’s authentication details will reset authentication methods for the user, including their MFA and self-service password recovery options. To do this, navigate to the ‘Users’ tab from the side navigation panel. On the users page, select the hyperlinked username of your selected user, this will direct you to the selected user’s information page which displays their basic attributes, virtual machines, account settings and associated tags.
If the user is not immediately visible on the users page, type the user’s name into the search bar.
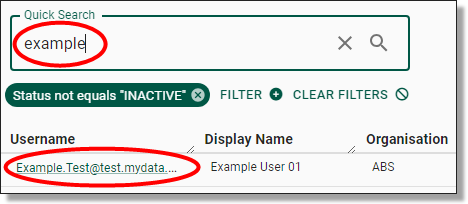
Fig. 1. Selecting the user
To reset the user's MFA, select the ‘’Reset Auth Methods” button on the top of the page.

Fig. 2. Reset Auth Methods button
Clicking on ‘Reset Auth Methods’ will prompt a confirmation window, click ‘Yes’ to proceed.
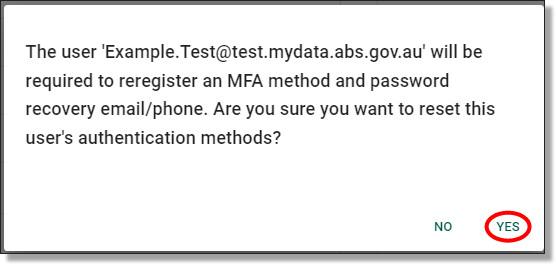
Fig. 3. MFA reset confirmation window
Unlike the process for resetting a user password, the system does not automatically notify the user that their authentication methods have been reset. Users will be prompted to re-register their MFA and self-service password recovery details when they next log in.

Fig. 4. MFA reset complete
If users encounter issues authenticating their MFA, ask them to undertake the following troubleshooting steps:
- Ensure the phone is connected to the internet
- Turn off battery optimisation
- Restart phone
- Ensure push notifications are enabled on the users mobile device
- Ensure the use has the latest App version installed
- Ensure the user has the latest OS version installed
- Clear phone cache