Managing products
How to create, delete and edit products. How to link/unlink products and projects
Viewing available products
On the ‘Products’ page you can view a list of products available for linking to projects (refer to Linking Products to Projects to be guided on how to link these products to projects). Open the ‘Products’ page by selecting the ‘Products’ tab from the left side navigation panel.
Fig. 1. Products tab
You can adjust the filters (circled blue) to search for a specific product based on various criteria. You can also download a CSV report of all products by selecting ‘Export’ (circled red).

Fig. 2. Products page
Creating products
Data administrators can create new products. To create a new product shell, open the ‘Products’ page by selecting the ‘Products’ tab from the left side navigation panel.
Select the 'New Product’ button at the top of the page.
Fig. 1. Create a new product button
This will take you to the ‘New Product’ page. Fill in the required information including any necessary tags.
The short name for your product may only contain lower case characters, hyphens and numbers. Hyphens cannot be at the start or end of the name, or adjacent to another hyphen.
After filling out the required fields, select ‘Submit’.
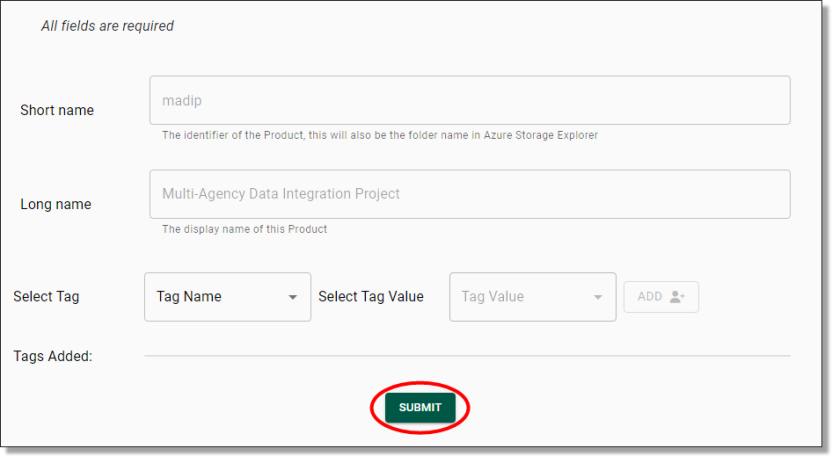
Fig. 2. New Product page
You will be asked to confirm the action. If creating the product is your intention, proceed by selecting ‘Yes’.
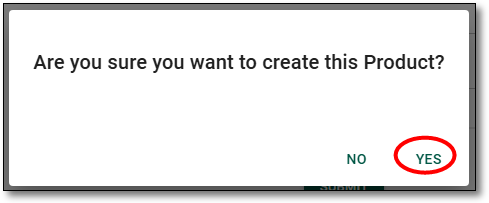
Fig. 3. Create product confirmation message
The system will then begin to create your new product. You can view the progress of the task via the ‘Action Log’.
Note: This will not make any data available to your users, you will need to link the created product to a project and add the data through Azure Storage Explorer to this data product shell, refer to Linking Products to Projects and Azure Storage Explorer.
Deleting products
Data administrators can delete products. To delete a product, locate the product from the ‘Products’ page. Then select the ‘Actions’ icon (three dots) on the product you want to remove and select 'Delete'.

Fig. 1. Delete product action button
You will be asked to confirm the action. If deleting the product shell is your intention, proceed by selecting ‘Yes’.
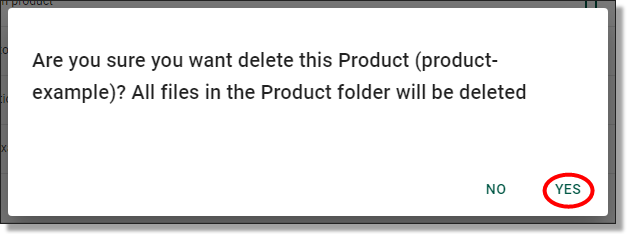
Fig. 2. Delete product confirmation message
The system will then delete the product. You can view the progress of the task via the ‘Action Log’.
Editing products
Data administrators can edit the tags associated with products. The product short and long name are not able to be updated. To edit a product, from the ‘Products’ page, select the ‘Actions’ icon (three dots) on the product you want to update and select 'Edit'.

Fig. 1. Edit product action button
This will direct you to the ‘Update Product’ page. Once you have made your updates, select ‘Submit’.
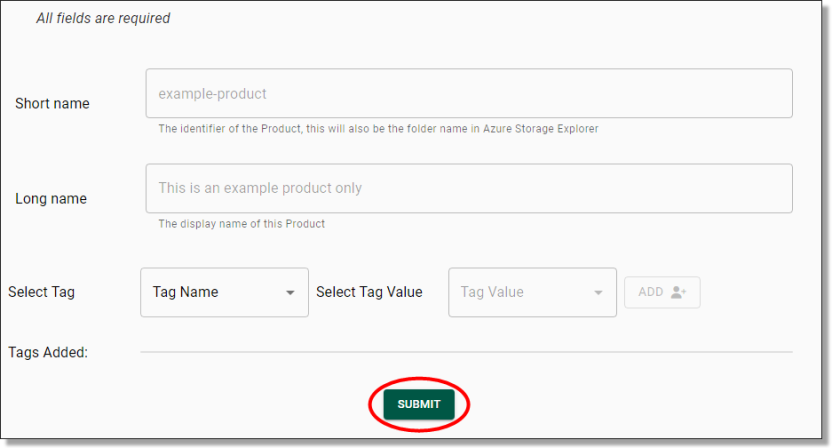
Fig. 2. Product update page
You will be asked to confirm the action, proceed by selecting ‘Yes’.
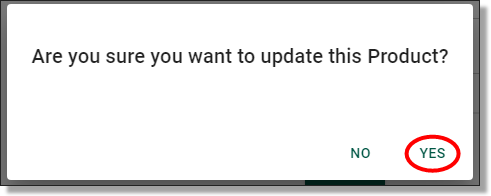
Fig. 3. Update product confirmation message
Unlocking a product
If a user has a file open while a Data administrator is attempting to modify or delete the product, the administrator will receive an error advising that the product is locked by a user.
Administrators can unlock a product which means to force remove any file handles on the files within the product.
To unlock a product, select the ‘Actions’ icon on the product you are wanting to unlock and select 'Release file share locks'.

Fig. 1. Release file share locks action button
This will present the following confirmation window. Be sure to warn the user ahead of unlocking the product as this will close their session. Once you are ready to proceed, select ‘Yes’.
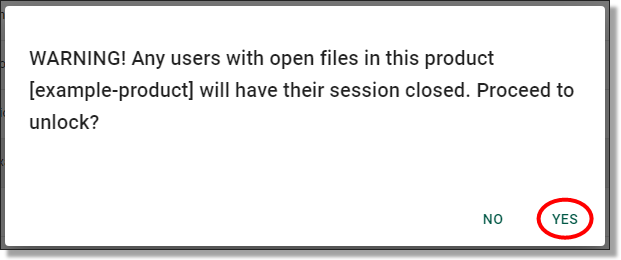
Fig. 2. Confirmation message