Data catalogue
Identify and add data to a project
Data catalogue
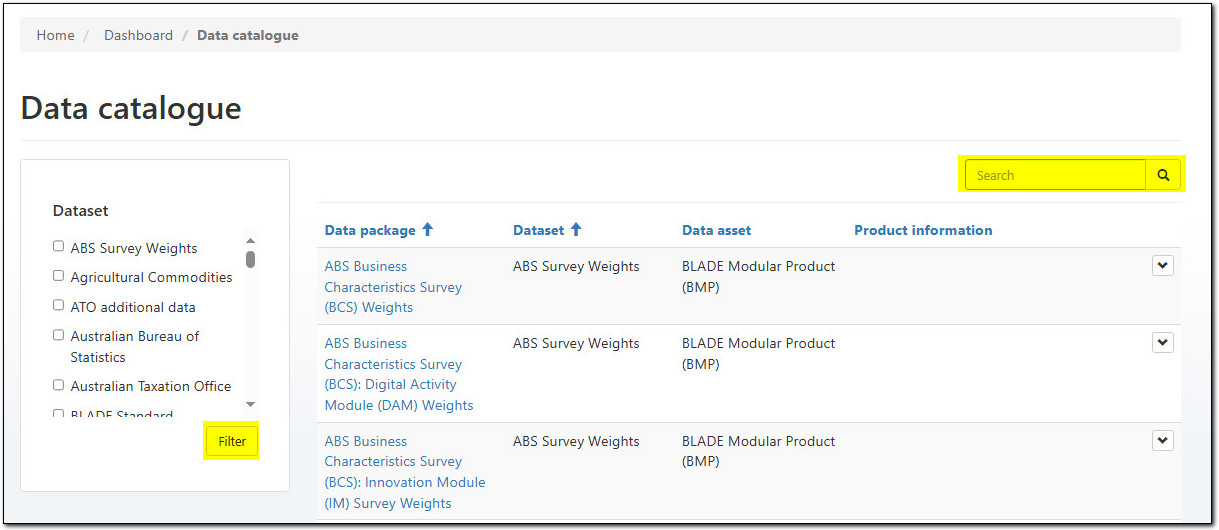
The Data Catalogue will help you understand what is available before research starts.
Filter by Dataset, or Search the Data packages, to help refine your search.
If further Product information is available (like the data item list) a link will be provided.
Image
Description
Image shows a page titled, "Data catalogue", containing a table with the columns: Data package, Dataset, Data asset, and Product information. To the right of each record in the table is a clickable drop down arrow.
A filter menu on the left hand side allows a user to select certain datasets and then click the Filter button (highlighted in the screenshot) to filter the table according to their selection.
Above the table is a search bar (highlighted in the screenshot).
When it is known what data packages will be required, take note of the
- Data asset, and
- Dataset categories
These categories will be needed when adding data to the project proposal.
Project proposal data selection
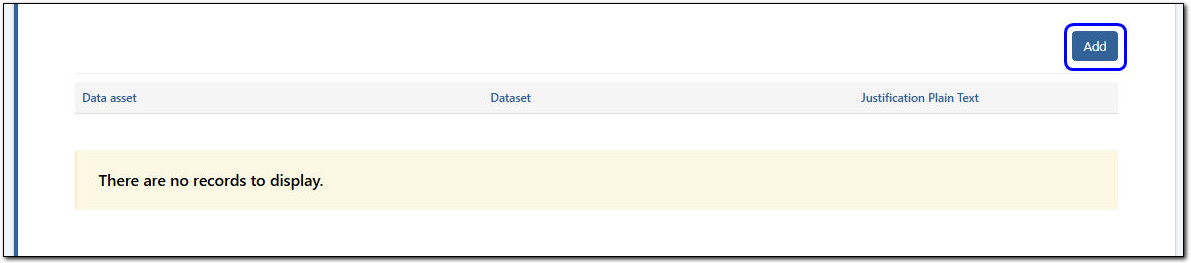
From the Data tab of the project proposal, select the 'Add' button.
Image
Description
Image shows a table with the columns: Data asset, Dataset, and Justification Plain Text. The table contains a banner with the text, "There are no records to display."
Above the table is a button labelled "Add" (highlighted in the image).
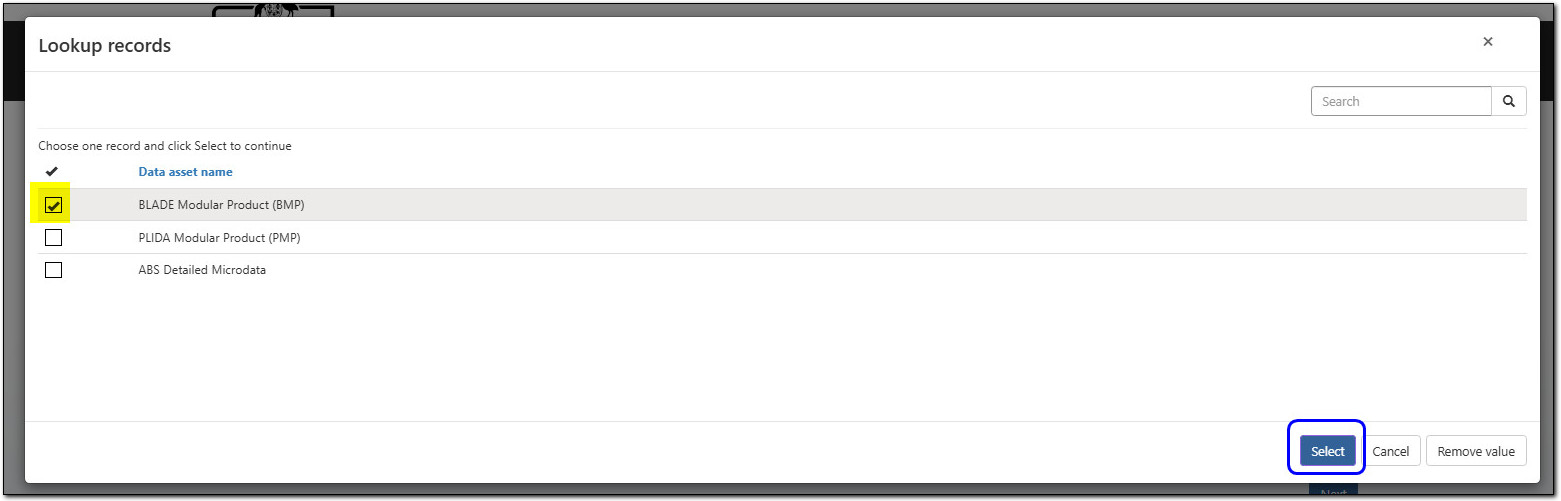
Select the Data asset category, by clicking the magnifying glass. Select one of the data assets, and then repeat for the Dataset category.
Image
Description
Image shows a pop-up box titled, "Lookup records". The pop-up contains a table with the column: Data asset name. To the left of each record in the table is a tick box (the tick box for the first record in the table has been highlighted in the image).
The help text above the table reads, "Choose one record and click Select to continue."
Beneath the table is three buttons: Select (highlighted in the image), Cancel, and Remove value.
Image
Description
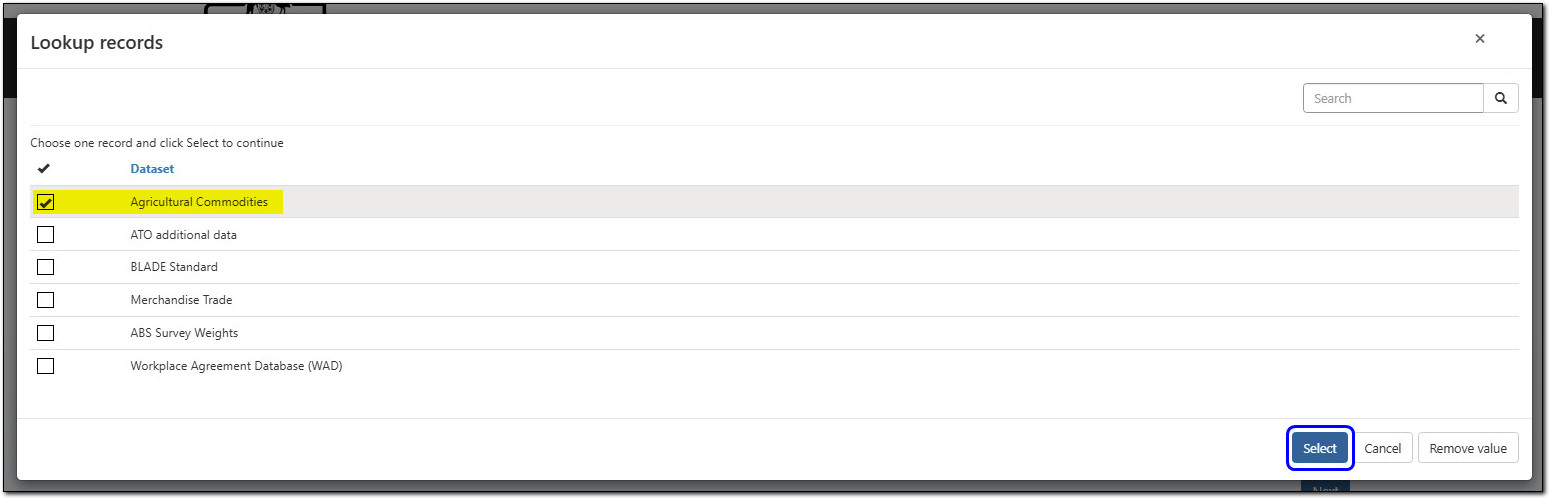
Image shows a pop-up box titled, "Lookup records". The pop-up contains a table with the column: Data asset name. To the left of each record in the table is a tick box (the tick box for the first record in the table has been highlighted in the image).
The help text above the table reads, "Choose one record and click Select to continue."
Beneath the table is three buttons: Select (highlighted in the image), Cancel, and Remove value.
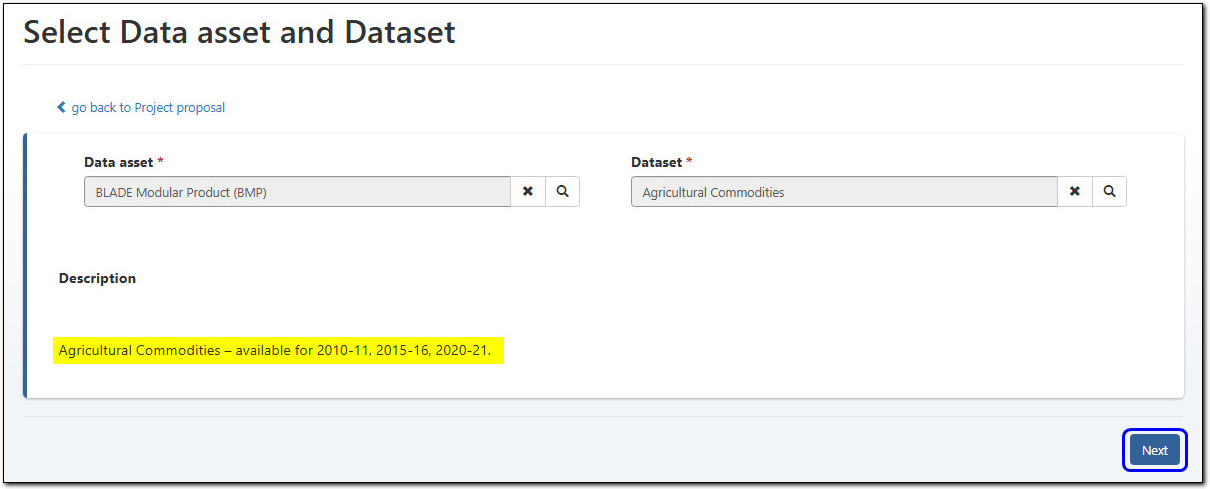
Now you have filtered to the Data asset and Dataset, the description shows what Data packages are available within this category.
If this suits your research select the Next button, from the bottom right location.
Image
Description
Image shows a page titled, "Select Data asset and Dataset".
Two greyed-out search bars are positioned next to each other, each with a red asterisk denoting a required field. The bar on the left is labelled, "Data asset" and in the image contains the text, "BLADE Modular Product (BMP)". The bar on the right is labelled, "Dataset" and in the image contains the text, "Agricultural Commodities".
Beneath the search bars is an non-editable text field with the title, "Description", containing the description for the dataset selected above (highlighted in the image).
In the bottom right corner of the page is a button labelled, "Next" (highlighted in the image).
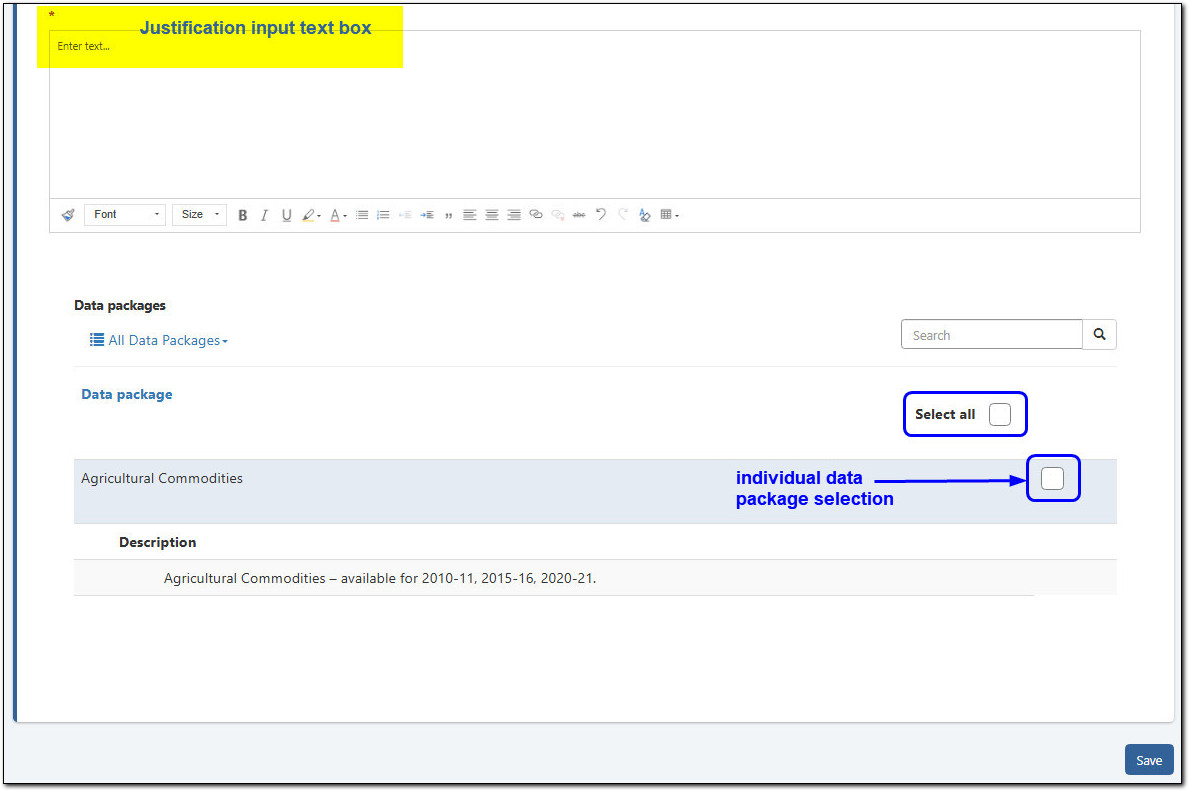
Within the project proposal, when selecting a Data package you may be asked for justification. If required, the justification text displays in bold text below the Dataset description.
You can select one, many or all Data packages by ticking the corresponding box.
Image
Description
At the top of the image is an open text field with a red asterisk denoting a required field. In the image, the text field has been highlighted and labelled "Justification input text box".
The section beneath the text field is titled "Data packages", and contains a hierarchical list of the data packages belonging to each of the selected datasets. To the right of each data package in the list is a tick box (highlighted in the image and labelled "individual data package selection"). Above the table is a tick box labelled "Select all" (highlighted in the image).
In the bottom right of the page is a button labelled "Save".
Possible errors
When you have finished your data package selection, and provided a response to the justification, select Save.
If you have not selected one to many data packages you will receive an error message.
Image

Description
Image shows an error box with the text: "The form could not be submitted for the following reasons: You must select at least one data package."
If you have not entered the mandatory justification you will receive an error message.
Image

Description
Image shows an error box with the text: "The form could not be submitted for the following reasons: Justification is a required field. Please provide justification for selected data packages."
When all Save conditions are met you will be returned to the project proposal - where you can continue your proposal.
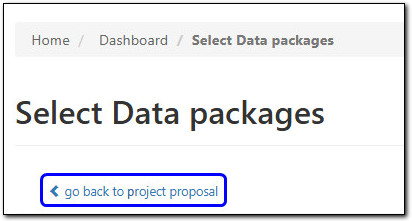
If no data packages meet your needs, you can exit the 'Select data package' form by choosing the 'go back to project proposal' breadcrumb link.
Image
Description
Image shows the top of a page titled, "Select Data packages". Beneath the header is a link with a back arrow and the display text, "go back to project proposal" (highlighted in the image).
Edit data selection
Either through a new project or a Change request (Scope, Data and Output) you may want to add or remove more data packages within the dataset.
Select 'View details' from the action menu shown on the Dataset row.
Image

Description
Image shows a table with the columns: Data asset, Dataset, and Justification Plain Text. The records in the table are hierarchical, showing the selected datasets and the selected data packages they contain. To the right of the dataset records is a drop down arrow, which has been clicked in the image to show a drop down menu with the options: View details (highlighted in the image), and Remove.