Logging into the portal and workspace
Logging in, launching your VM, first time use/new phone steps, resetting your password
Instructions for logging into DataLab:
- Log into the DataLab portal - access information and settings related to your profile, project and start your virtual machine (VM)
- Launch the VM - access your project workspace, providing you and your approved team members access to project data for analysis and preparing data outputs for clearance
Note: For security reasons, user accounts will be automatically disabled after 45 days of inactivity and access to your VM(s) will be suspended. The project and all associated data remain unaffected. Notifications are sent by email 14 days and 3 days prior to the account being suspended. You will need to log into the DataLab portal within the 45 days to avoid automated suspension. To reactivate a suspended account, contact mydataportal@abs.gov.au.
Log into the DataLab portal
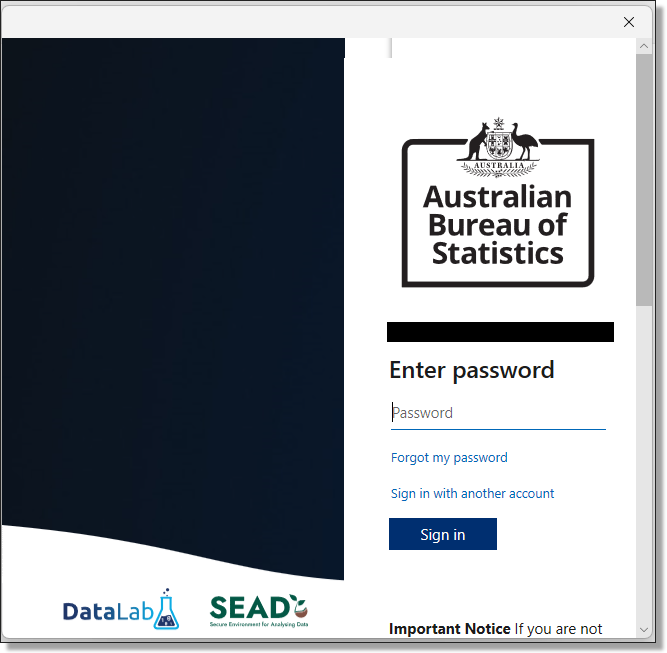
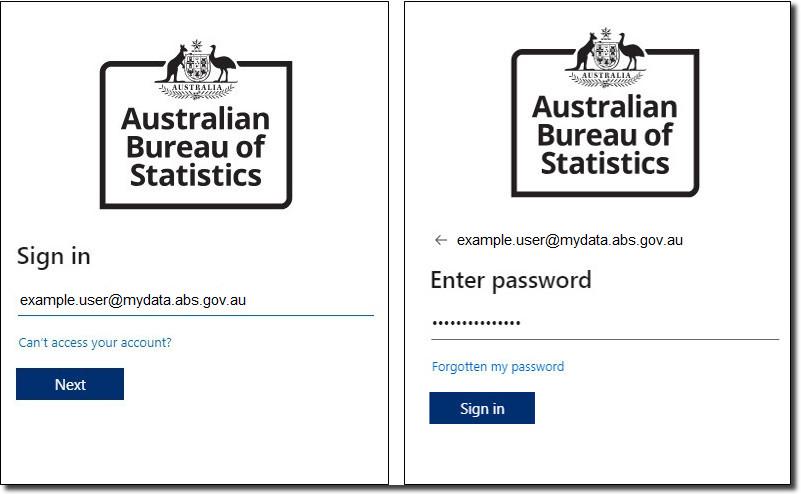
Enter your account credentials into the DataLab log in page.
If you are logging in for the first time, you will need to authenticate your log in using the Microsoft Authenticator app on your mobile phone. To set this up, refer to First time use/new phone steps.
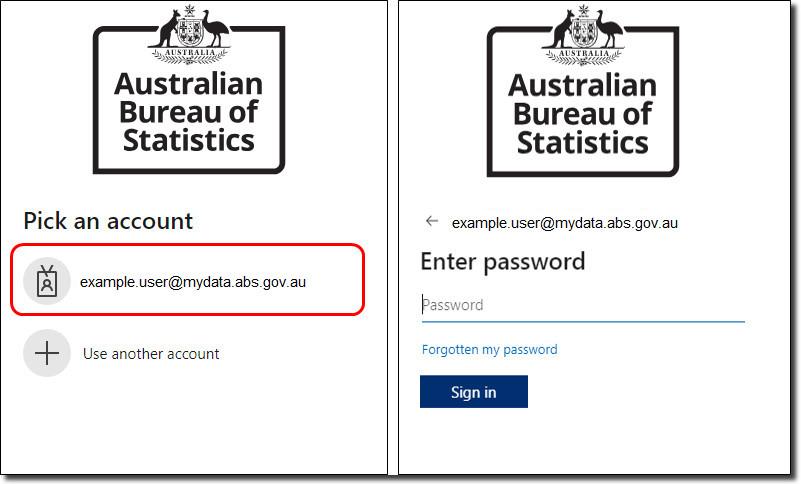
For returning users, click on your account (firstname.lastname@mydata.abs.gov.au) or use another account and enter your account name. All DataLab accounts use the @mydata.abs.gov.au domain format. Enter your password and sign in.
By logging in you agree to these conditions:
Important Notice
If you are not authorised to access this system, exit immediately. Unauthorised users may be subject to criminal and civil penalties.
This is an Australian Government computer system. Part 10.7 of the Criminal Code Act 1995 outlines the penalties that may apply for unlawful use of Government systems including unauthorised access, modification or impairment of computer systems, data or electronic communications. The Act provides penalties of up to 10 years imprisonment for such offences. By proceeding, you are representing yourself as an authorised user and acknowledge you have read and agree to comply with the Responsible Use of ABS Microdata User Guide. Your activity will be logged, monitored and investigated should any misuse be suspected.
Sanctions ranging from a reprimand to revocation of access or termination of employment may be imposed if misuse is determined.
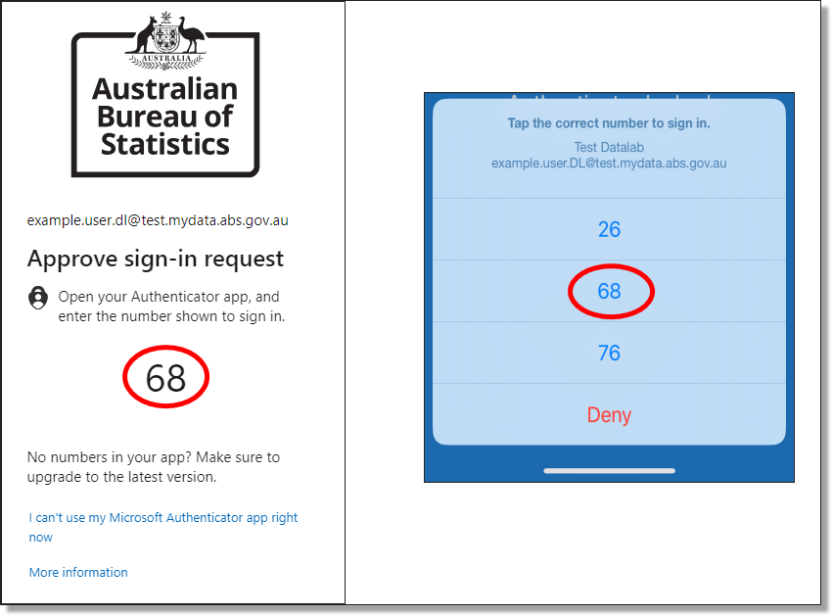
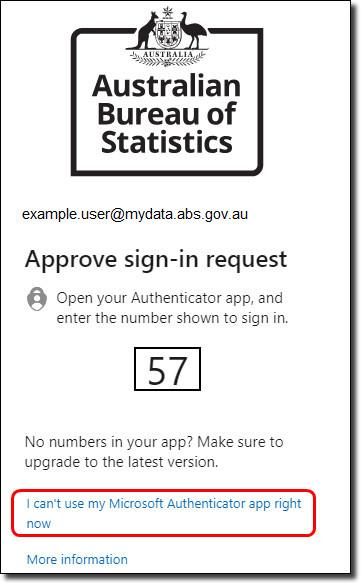
Once you have entered your credentials and select ‘Sign in’, a notification from the Microsoft Authenticator app is sent to your phone and asks you to perform a “number match”. Enter the numbers shown on your browser screen into the authenticator app on your phone to proceed.
If you don't approve within the time limit, click ‘Send another request to my Microsoft Authenticator app’. If the request expires, re-enter your account and password in the DataLab log in screen.
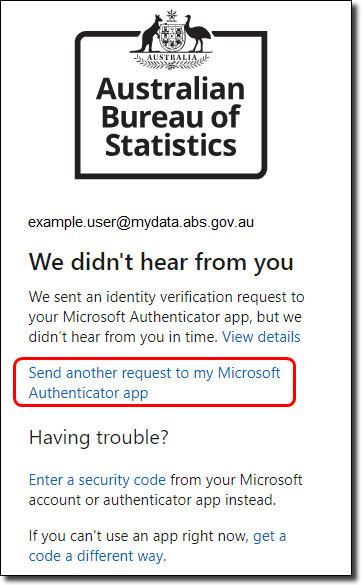
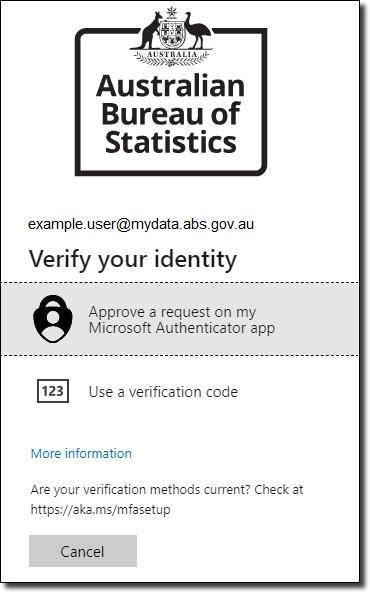
You can also change the way you approve the sign in request by selecting "I can’t use my Microsoft Authenticator app right now".
You then have two options:
- Approve a request on your phone app
- Use a verification code from your phone app
After you approve the request in the Microsoft Authenticator application, you are logged into the DataLab portal.
Launch the VM
To enter your DataLab project workspace you need to:
Step 1 Activate your VM
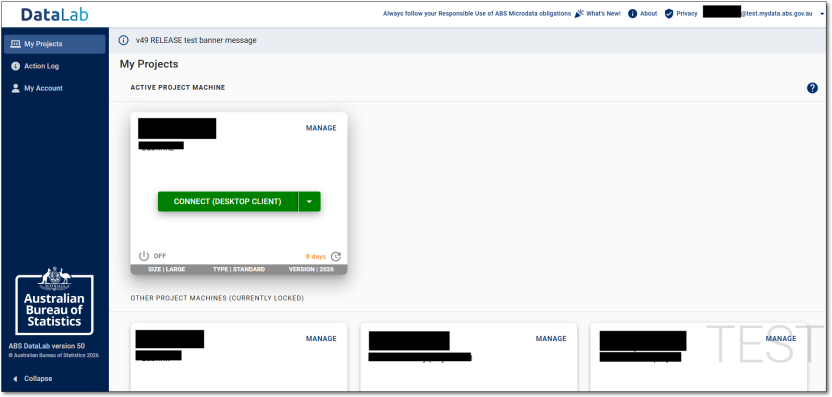
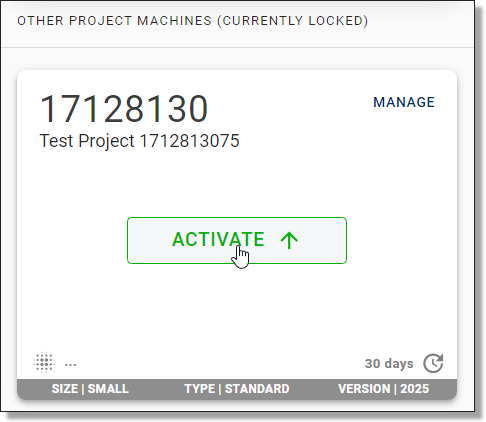
Each project VM is displayed on individual tiles, with your “active” VM appearing at the top of the page above VMs that are “locked”. For more information about your VMs, see Functions in My Projects.
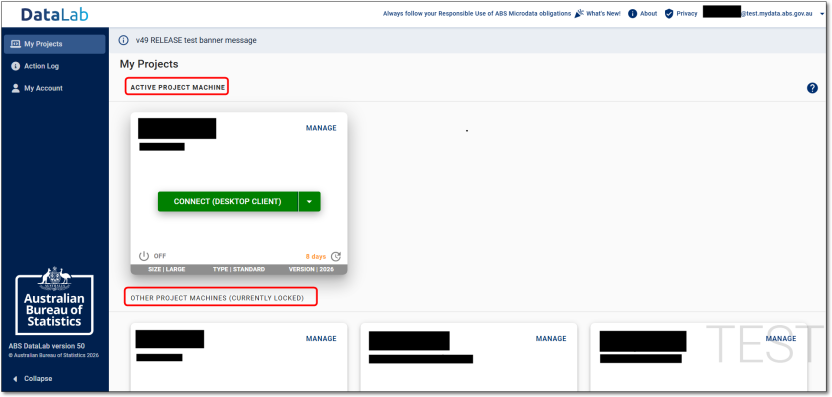
Each project has a separate VM and you can only access one project VM at a time. If your machine is already available to launch, skip to Launch your desktop.
- If not, click the ‘Activate' button as shown below and wait until the ‘Connect’ button appears.
- If your machine shows a status other than ‘Connect’ or ‘Activate’ you must rebuild the VM first. Refer toVM management options for more information.
Click on the ‘Activate’ button of the VM you want to launch.
If you select the ‘Activate’ button while you have another project VM that is currently active, this will log you out of this session. If you have a program running in your workspace using another VM, this will stop the program. You can only run multiple VMs if you have requested and have been approved to use offline local disk space.
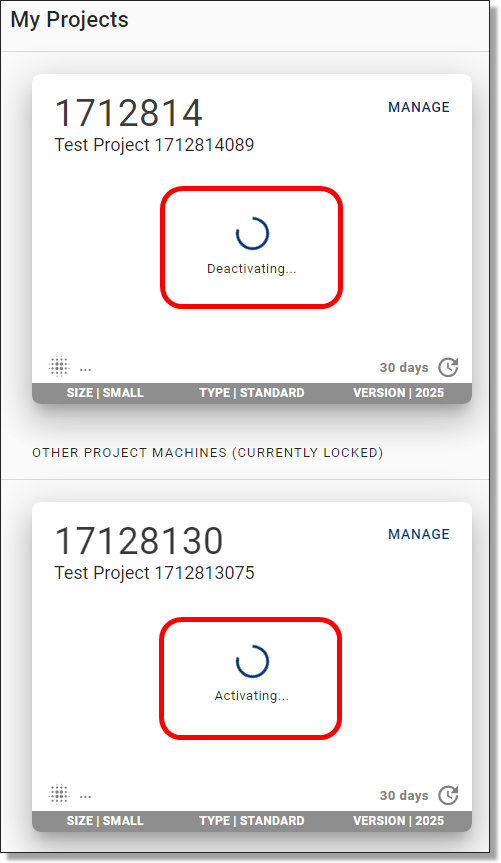
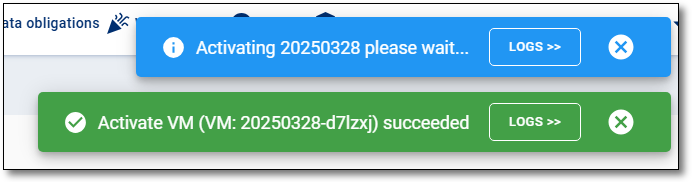
As shown below, you can track the VM activation progress by either selecting 'Track' from the pop up notification or from the action log icon on the left navigator.
When the VM activation completes, an additional pop up notification confirms that the action was successful. If the action fails, repeat the above steps to activate.
If you navigated to the Action Log page, select the laptop icon named 'My Projects' in the left navigator to return to the 'My Projects' page.
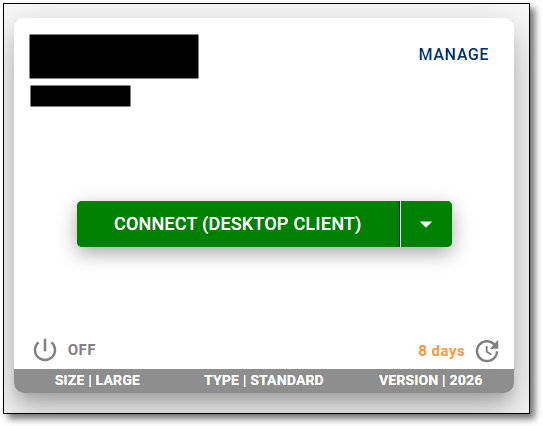
Step 2 Launch your desktop
Before launching your VM, you are required to install the Windows App for Windows or MacOS, or have your organisation do so to be able to connect to your VM. All browser-based applications, including Azure Virtual Desktop (AVD) web client and the Windows App web client are disabled and no longer available for connecting to your virtual machine.
Once Windows App is installed, your VM can be launched by clicking the Connect (desktop client) button from the DataLab portal or directly from the Windows App.
Connect using Remote Desktop Client for Windows
If you are connecting to the 'Remote Desktop client' version of AVD via your organisation’s workspace, ensure that your IT department has enabled the correct networking addresses. Your IT department can refer to Enabling access to the Datalab under 'Azure Virtual Desktop configuration' for more information on the required networking addresses.
The latest version of 'Remote Desktop client (MSI)' for Windows, is available here. Ensure you download and install the correct version for your device.
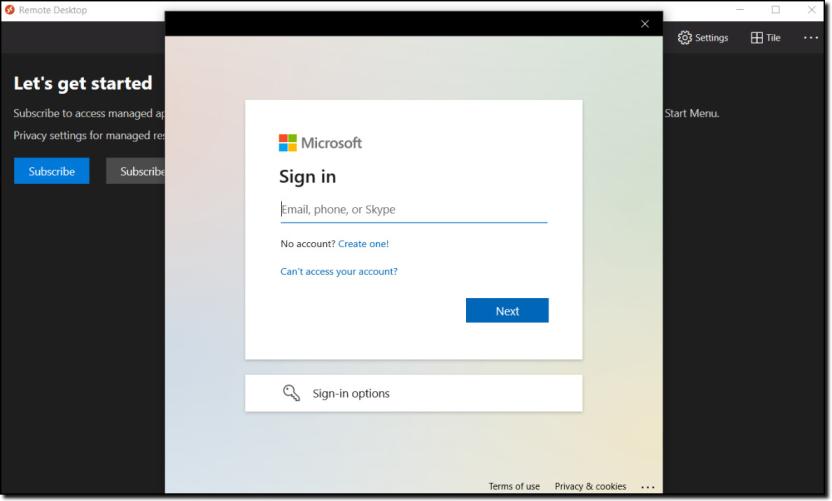
Once you have been provided access by your organisations IT department, or have downloaded, installed and opened the application, click ‘Subscribe’ as shown below.
Note: The Remote Desktop client (MSI) will reach end of support on March 27, 2026. Users will be supported to transitioning to the Windows App to ensure continued access to the DataLab.

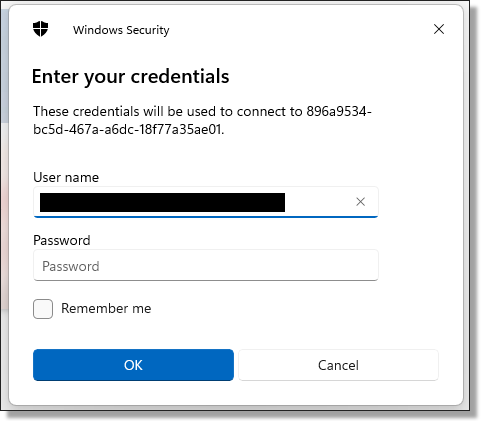
You will then be navigated to a new window, log in using your DataLab credentials.
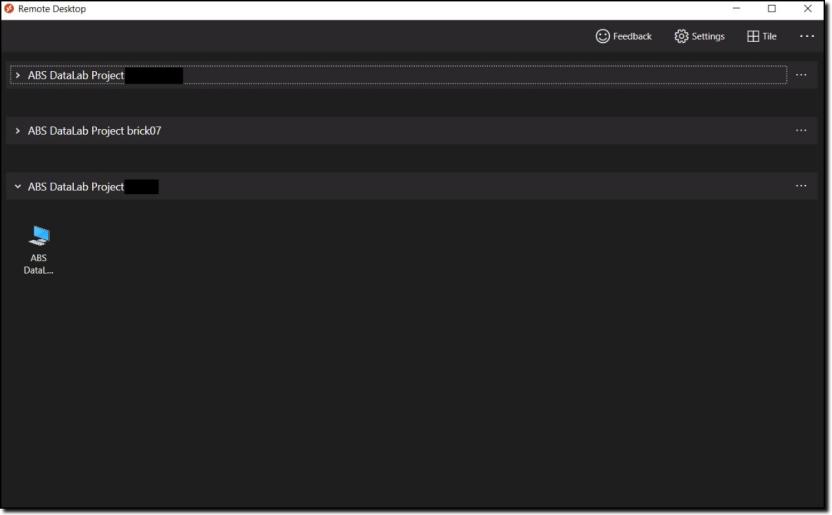
Upon a successful login, you will be shown all your available VMs. If you can’t see the VM that you want, it may be dormant and would require a rebuild. Rebuilds need to be completed through the DataLab web portal.
If you have access to multiple projects you may be shown multiple tabs, one for each project as shown in the image below.
Note: If you wish to use multi-display, right click on your VM icon, click ‘Settings’, and turn off ‘Use default settings’. You should now see options for how you would like to display your VM.
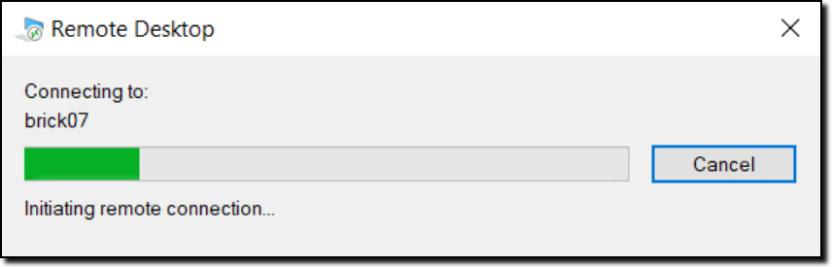
Click into one of the computer icons and you will be navigated to a login screen to reconfirm your identity, before access is granted to enter your VM. This may not appear if you have recently logged in, through a similar window.

The below loading bar should briefly appear.
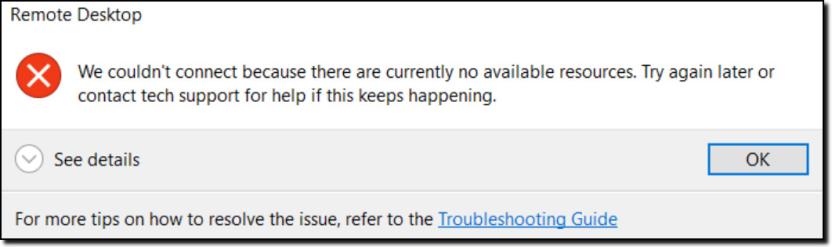
If, instead of the second login prompt, you receive a message as shown in the below image, then either your machine is not the active machine or it is not using the AVD version ‘2025’ or similar. If your desktop session does not start, repeat Step 1 Activate your VM and check that the version at the bottom of your VM says ‘2025’ or similar.
You will then be presented with another login screen for the VM itself.
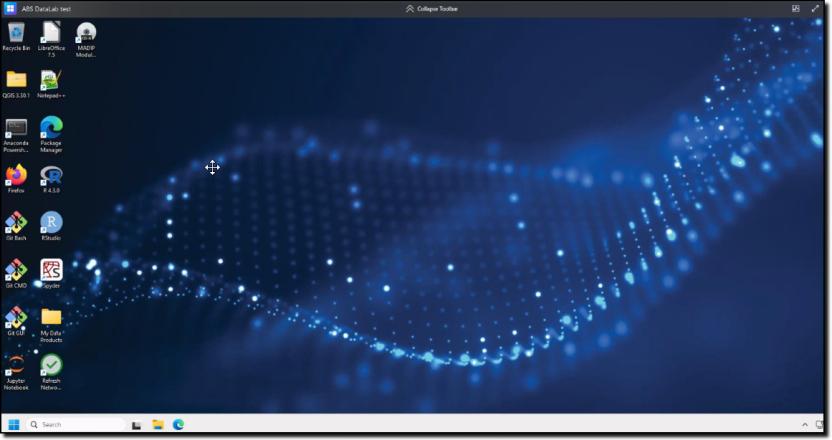
A new window will then open on your computer displaying your VM workspace.
For more information on using the workspace refer to Using your workspace.
Connect using Windows App for Windows
Download the Microsoft Windows App from the Microsoft Windows App Store.
Note: If you intend to use the Windows App on your organisation's workspace, you will need to contact your local IT department to make it available to you.
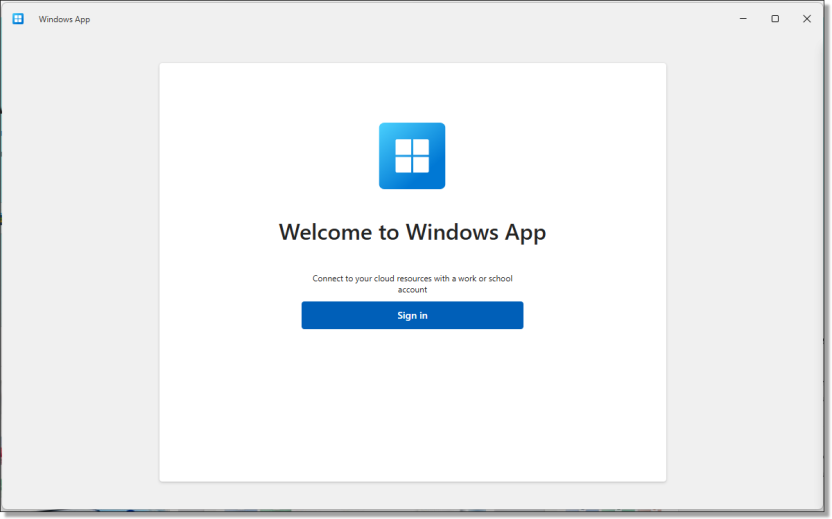
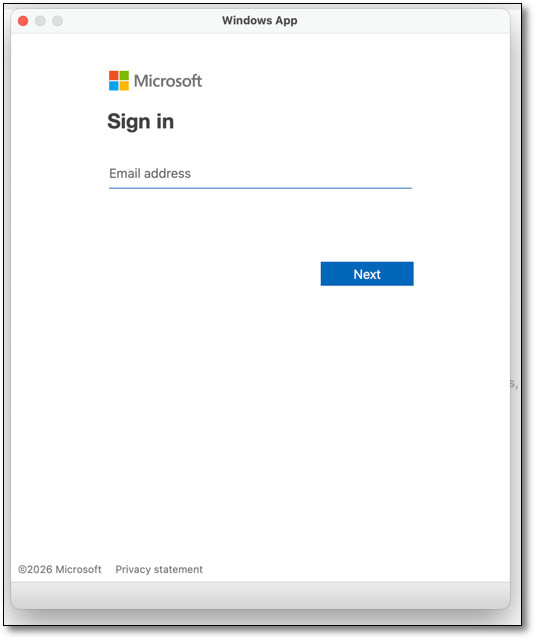
Once you have been provided access by your organisations IT department, or have downloaded, installed and opened the application, select sign in.
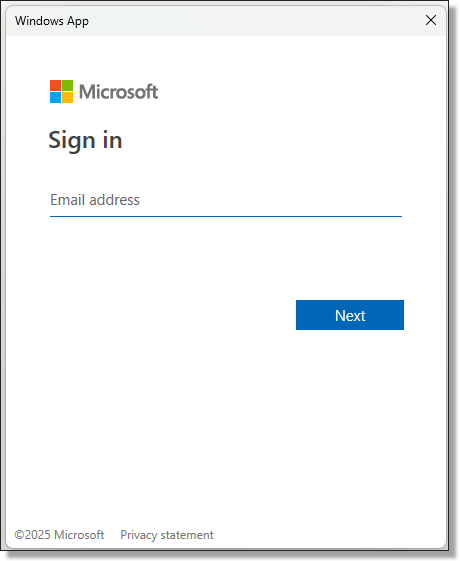
Sign in using your DataLab username. Once your credentials has been entered, you will be navigated to the ABS DataLab branded log in screen to enter your password.
Once you've successfully logged in, you will be able to see all of your available VM's. If you can’t see the VM that you want, it may be dormant and would require a rebuild. You will be required to connect to the DataLab web portal to activate or rebuild your VM.
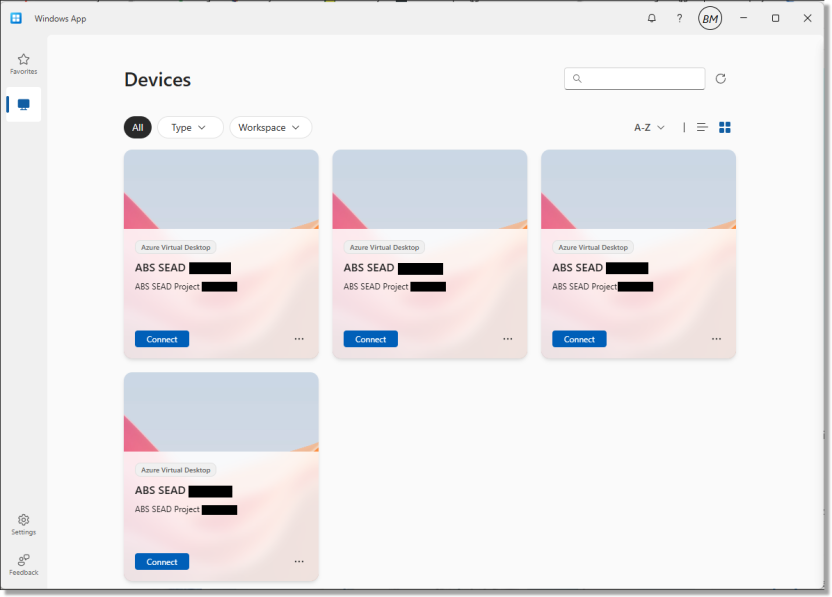
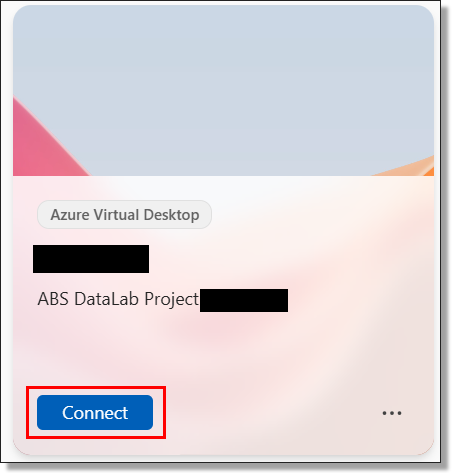
Select 'Connect' on the VM tile you want to access, noting only the 'active' VM as displayed in the DataLab web portal will allow you to progress into your workspace.
At this point, you may be required to enter your DataLab credentials again to launch the VM, if you have not logged in recently.
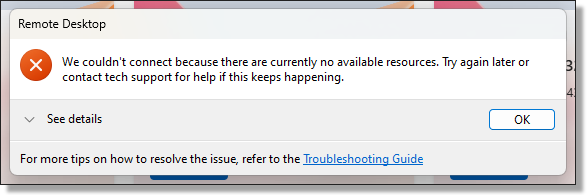
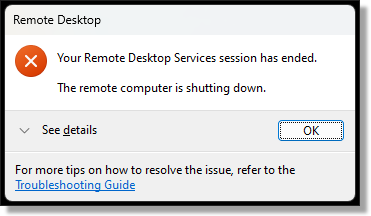
When attempting to connect to your VM you may encounter the following error. Note: Check the DataLab web portal to ensure that the VM you are trying to launch is active and does not require a rebuild.
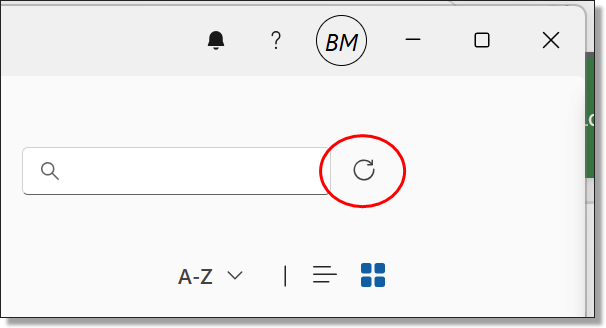
If changes have been made to the VM in the DataLab web portal, you may need to refresh the available resources in the Windows App for changes to take effect.
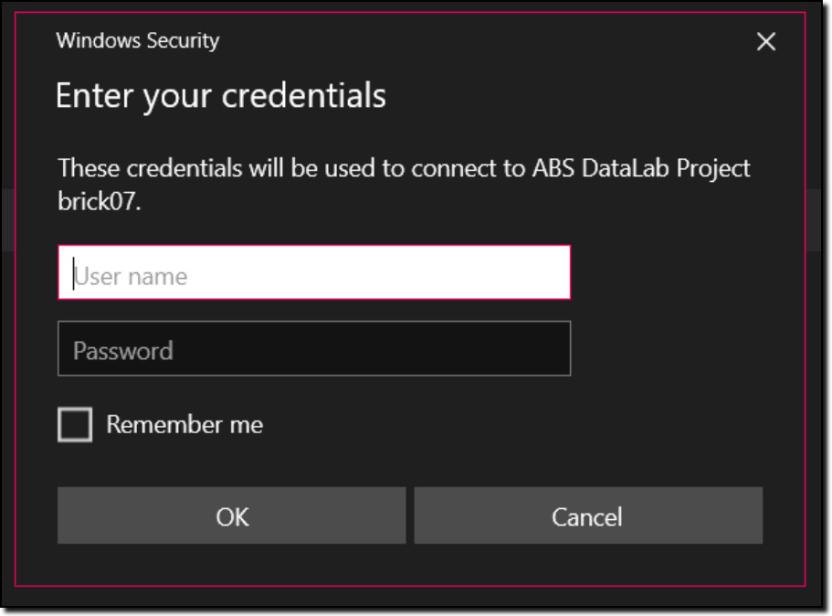
After successfully Connecting to the VM you will then be presented with another login screen for the VM itself. Again, you will be required to enter your DataLab credentials.
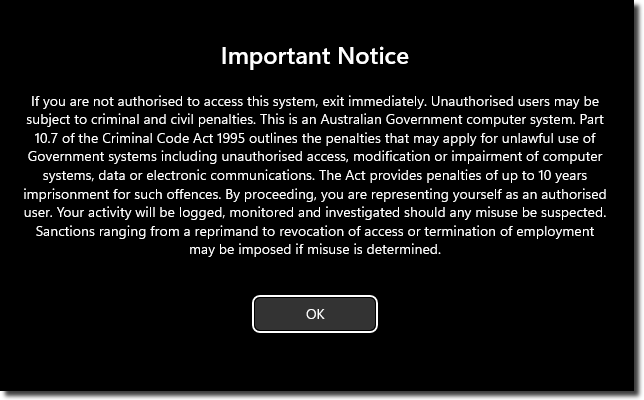
By logging in to DataLab you agree to these conditions outlined on the important notice:
Image
Description
Important Notice
If you are not authorised to access this system, exit immediately. Unauthorised users may be subject to criminal and civil penalties.
This is an Australian Government computer system. Part 10.7 of the Criminal Code Act 1995 outlines the penalties that may apply for unlawful use of Government systems including unauthorised access, modification or impairment of computer systems, data or electronic communications. The Act provides penalties of up to 10 years imprisonment for such offences. By proceeding, you are representing yourself as an authorised user and acknowledge you have read and agree to comply with the Responsible Use of ABS Microdata User Guide. Your activity will be logged, monitored and investigated should any misuse be suspected.
Sanctions ranging from a reprimand to revocation of access or termination of employment may be imposed if misuse is determined.
You will then have a new window open on your computer displaying your VM workspace.
Upon shutting down your VM you will receive the following confirmation message. Ensure that you shut down your VM once your analysis is complete to avoid running costs.
For more information on using the workspace refer to Using your workspace.
Connect using Windows App for MacOS
Download the Microsoft Windows App from the MacOS App Store.
Use of the DataLab on MacOS is only supported through the Windows App for Mac. Ensure your IT department has enabled the required networking addresses, refer to Enabling access to the DataLab under 'Azure Virtual Desktop configuration' for guidance.
If the Windows App for Mac isn’t already available in your organisation’s workspace, your IT team may need to enable it.
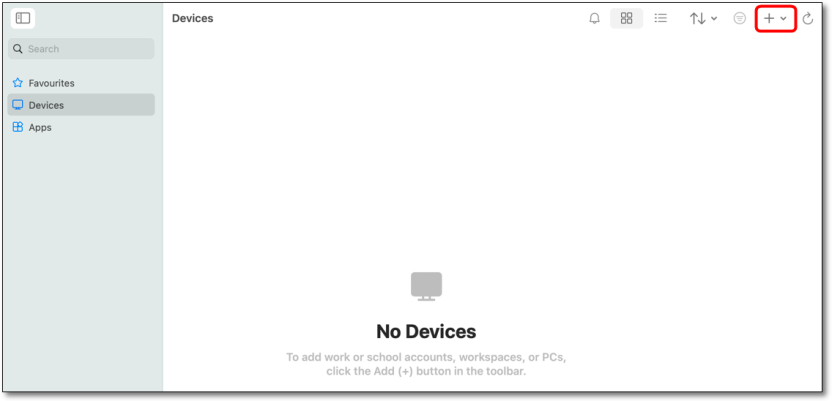
Once you have access, open the app, select the + icon in the top right, choose ‘Add Work or School Account’, and sign in with your DataLab credentials.
Once you've successfully logged in, you will be able to see all of your available VMs from the Devices page. If you can’t see the VM that you want to access, it may be dormant and would require a rebuild. You will be required to access the DataLab web portal to activate or rebuild your VM as this cannot be managed through the Windows App.
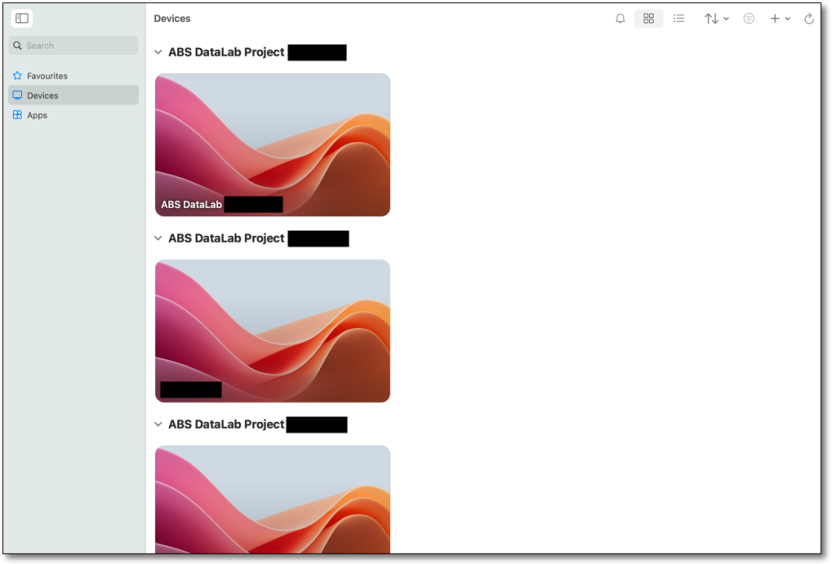
Double-click on the tile for the VM that you want to access, noting only the 'active' VM as displayed in the DataLab web portal will allow you to launch your workspace.
At this point, you may be required to enter your DataLab credentials again to launch the VM, if you have not logged in recently.
When attempting to connect to your VM you may encounter the following error. If this occurs, check the DataLab web portal to ensure that the VM you are trying to launch is 'active' and does not require a rebuild.
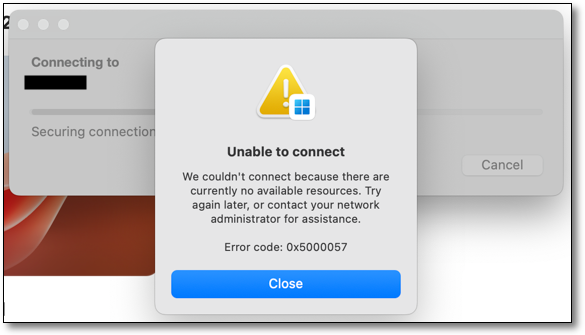
If changes have been made to the VM in the DataLab web portal, you may need to refresh the available resources in the Windows App for changes to take effect.
After successfully Connecting to the VM you will then be presented with another login screen for the VM itself. Again, you will be required to enter your DataLab credentials.
By logging in to DataLab you agree to these conditions outlined on the important notice:
Image
Description
Important Notice
If you are not authorised to access this system, exit immediately. Unauthorised users may be subject to criminal and civil penalties.
This is an Australian Government computer system. Part 10.7 of the Criminal Code Act 1995 outlines the penalties that may apply for unlawful use of Government systems including unauthorised access, modification or impairment of computer systems, data or electronic communications. The Act provides penalties of up to 10 years imprisonment for such offences. By proceeding, you are representing yourself as an authorised user and acknowledge you have read and agree to comply with the Responsible Use of ABS Microdata User Guide. Your activity will be logged, monitored and investigated should any misuse be suspected.
Sanctions ranging from a reprimand to revocation of access or termination of employment may be imposed if misuse is determined.
You will then have a new window open on your computer displaying your VM workspace.
Upon shutting down your VM you will receive the following confirmation message. Ensure that you shut down your VM once your analysis is complete to avoid running costs.
For more information on using the workspace refer to Using your workspace.
First time use/new phone steps
The DataLab uses two factor authentication to provide a secure log in environment. You need to download the Microsoft Authenticator app to your smart phone to use the DataLab.
Open https://datalab.abs.gov.au and enter your credentials.
The first time you log in, enter your DataLab username and password provided to you by the ABS.
If you are using a new phone, refer to the Contact us page for system support. An ABS system administrator will need to reset your Authenticator.
Note: all DataLab accounts use the @mydata.abs.gov.au domain format.
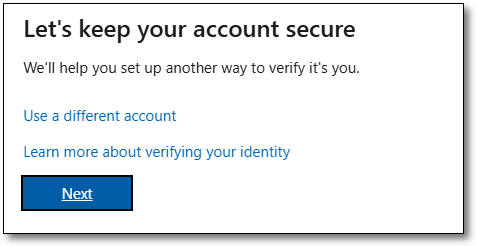
If you are switching to a new phone (not new account) you will be navigated to the screen ‘More information required’, click ‘Next’.

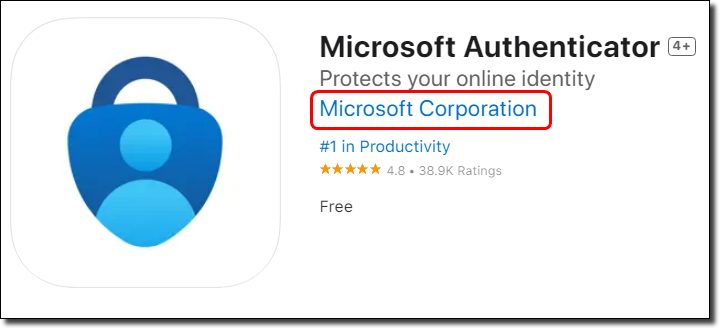
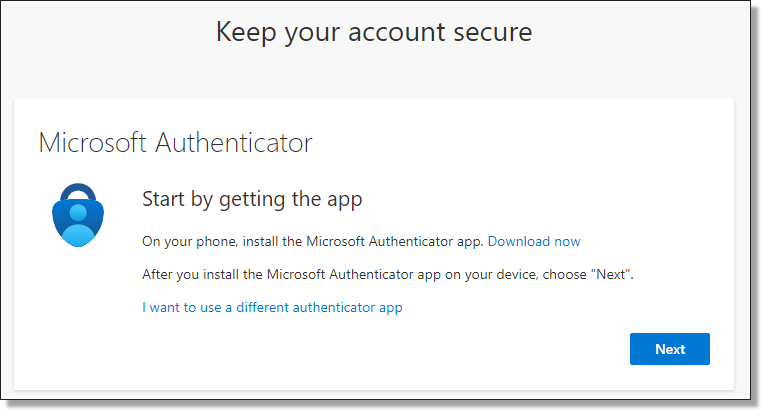
This will direct you to setup your Microsoft Authenticator application. Download the Microsoft Authenticator app to your smart phone from the App Store (for iOS) or Google Play (for Android). Ensure that the authenticator is published by Microsoft, as the ABS DataLab only supports Microsoft Authenticator.
Once you have fulfilled the initial requirements, proceed by clicking ‘Next’.
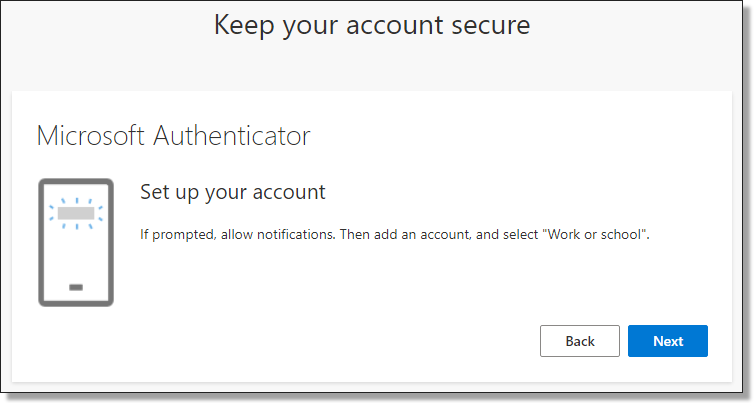
You will then be guided to open your downloaded Microsoft Authenticator app and add a ‘Work or school account’.
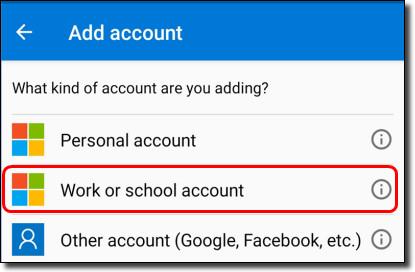
Once you have selected a 'Work or school account', click ‘Next’ from your browser.
The following screen presents a QR code to scan using your Microsoft Authenticator app.
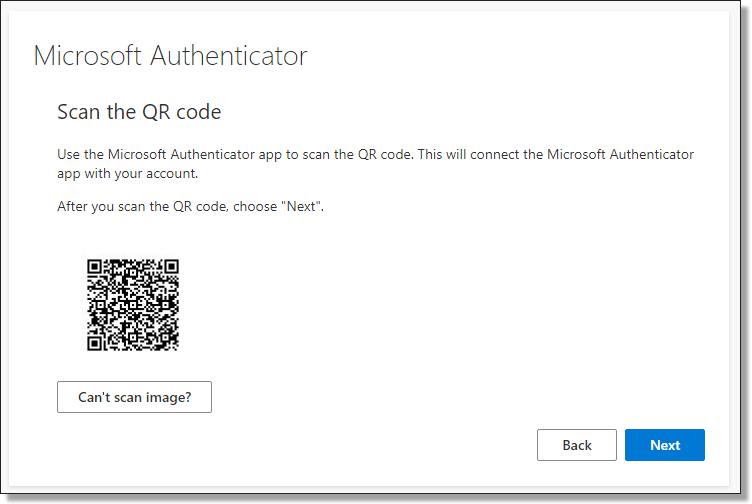
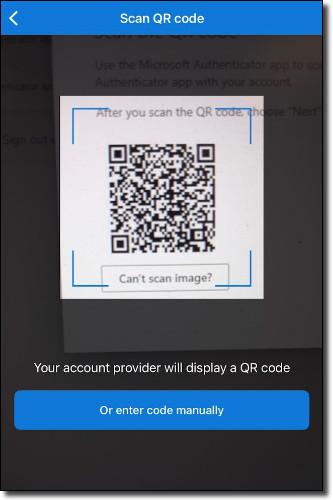
Initiate the scanning function on your phone, then hover your phone over the QR code shown on your browser screen.
Once scanning is complete, click ‘Next’ on your browser screen. You will be asked to enter the security number shown on your browser screen into your Microsoft Authenticator app, once complete, click ‘Next’.
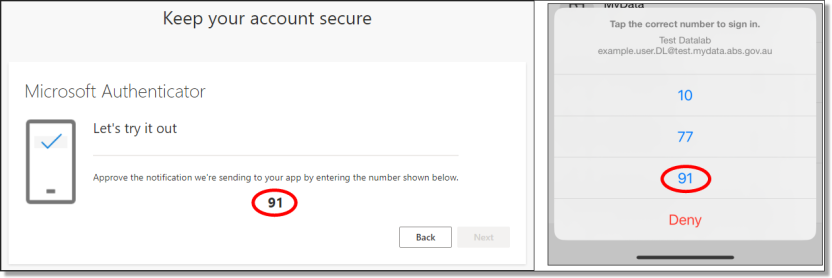
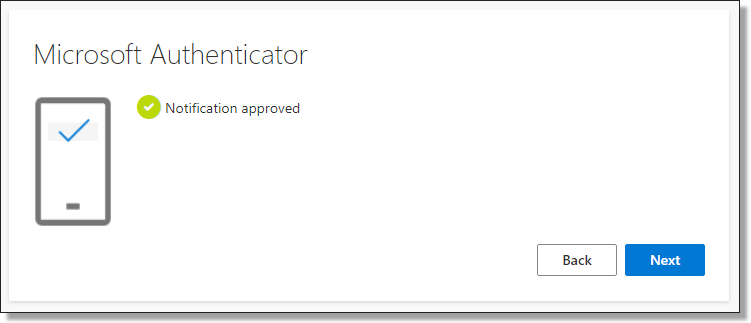
After entering the security number and receiving approval from your Microsoft Authenticator, you will see a ‘Notification Approved’ confirmation on your browser. Click ‘Next’ to proceed with setting up your multi-factor authentication.
Once verified, select ‘Next’ and then ‘Done’ to return to the sign in page.
Set up a new password for your account. Your password cannot contain your user ID. It must be a minimum of 8 characters and contain at least three of the following:
- Upper-case letters A – Z
- Lower-case letters a - z
- Numbers
- Special characters @ # $ % ^ & * - _ ! + = [ ] { } | \ : ' , . ? / ` ~ " ( ) ;

After updating your DataLab password when logging in for the first time, or having your authentication methods reset you will be prompted to add a second verification method.
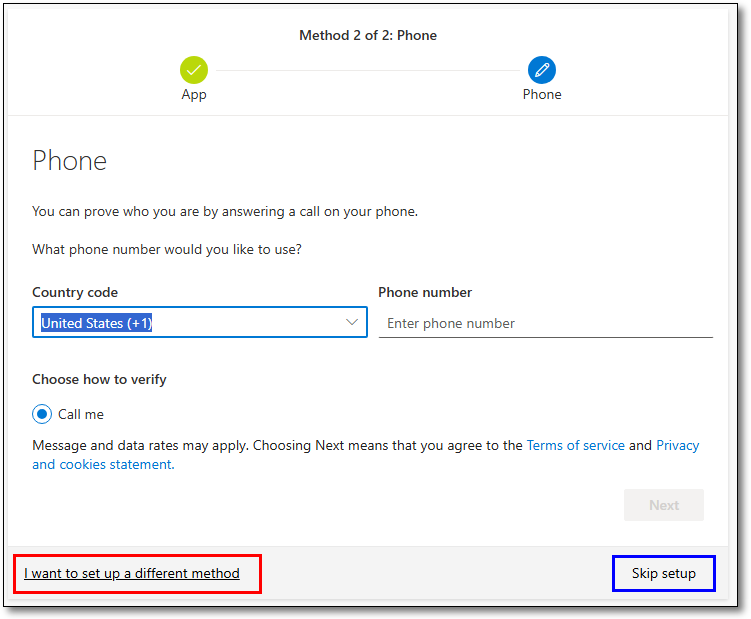
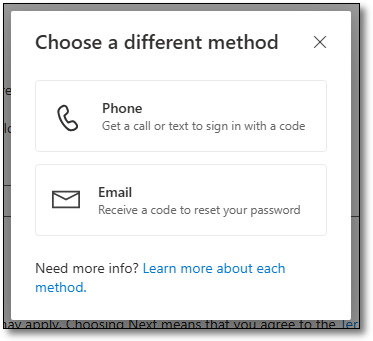
The default method is a phone call with automated prompts for you to follow. If you prefer to use a different method, select ‘I want to set up a different method’. From here you can choose either a phone call or text message with a sign in code, or Email. You can skip the setup of a second verification method, however you will be prompted to complete it every time you log in to the DataLab portal.
To proceed with the default method, enter your country code and phone number and select ‘Next’.
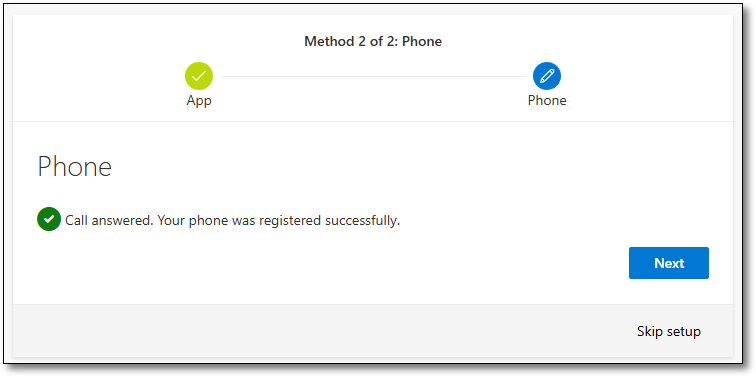
You will receive a phone call to your mobile device using the phone number entered. Answer the call and follow the prompts provided. Your browser will update with the status of the verification.
After successfully verifying your mobile device your browser will update with 'Call answered. Your phone was registered successfully'. Click 'Next' to proceed.
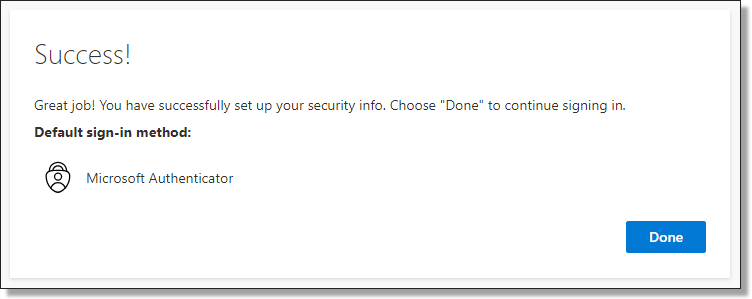
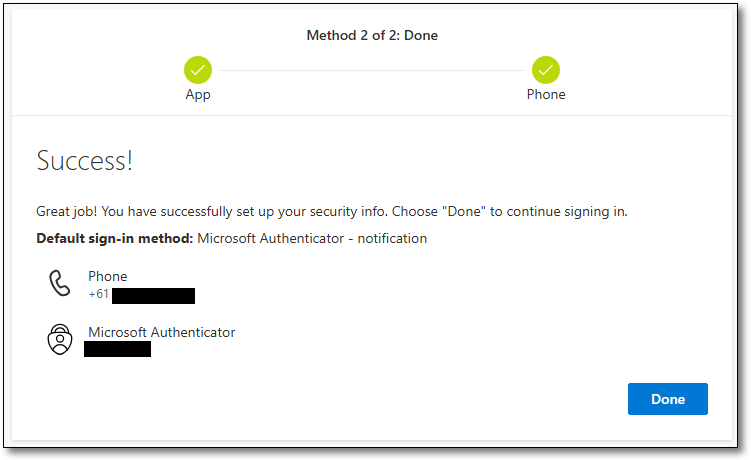
You will then receive a 'success' page, confirming the details were successfully registered. Select ‘Done’ to proceed to the DataLab portal.
Reset your password
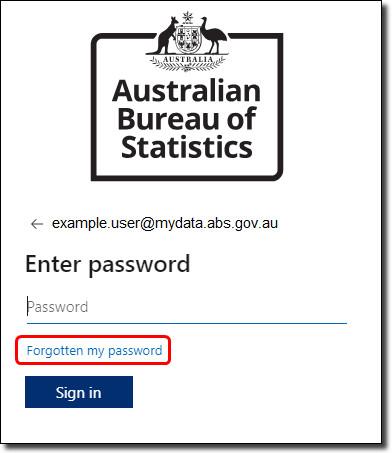
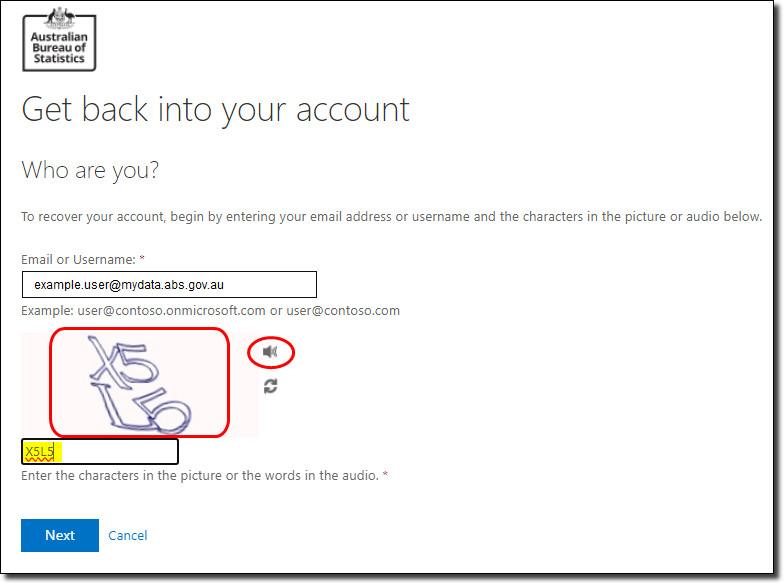
If you forget your password click on the ‘Forgotten my password' link. If you have received a notification to reset your password while in your VM, log out and then click on the ‘Forgotten my password' link.
Your user ID is populated for you. Enter the characters in the picture, or words in the audio, then click 'Next'.
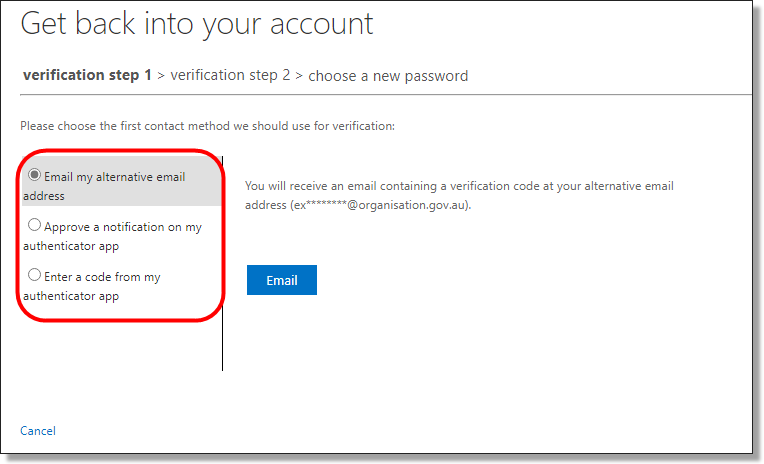
The next screen takes you to verifying your account. Choose from the options in the left-hand column.
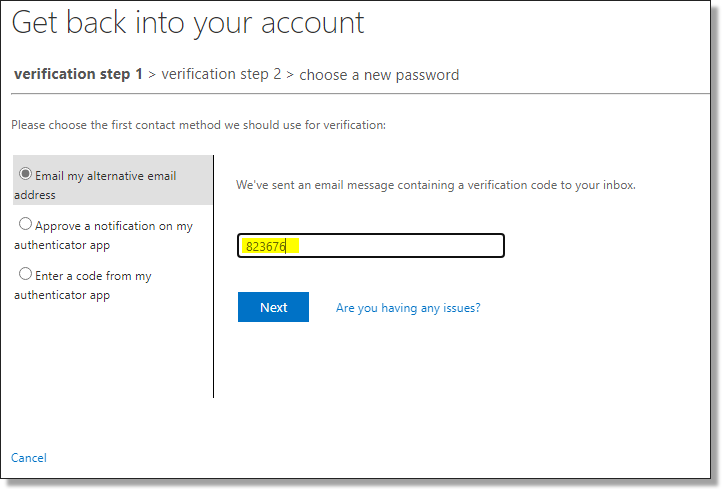
Enter the verification code you received via work or university email, or the approval notification or code from the Microsoft Authenticator app.
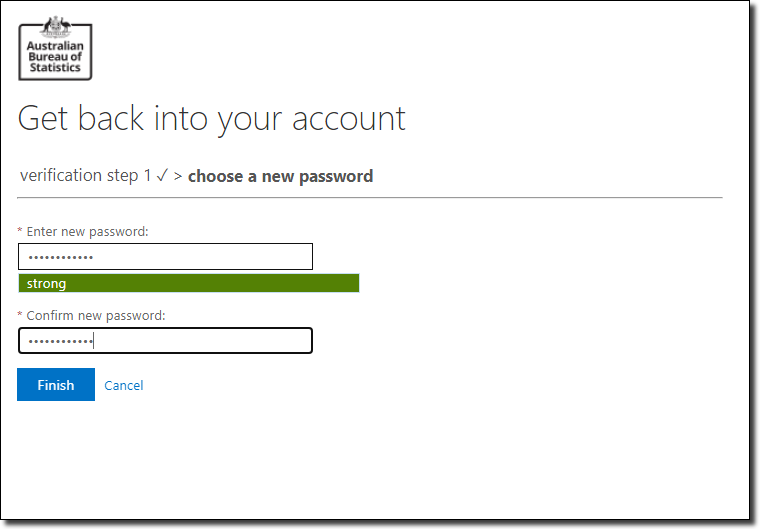
Enter your new password, ensuring it has a minimum of 8 characters and contains at least three of the following:
- Upper-case letters A – Z
- Lower-case letters a - z
- Numbers
- Special characters @ # $ % ^ & * - _ ! + = [ ] { } | \ : ' , . ? / ` ~ " ( ) ;
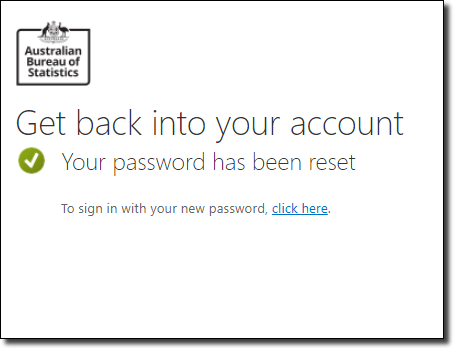
The following screen is displayed once your password has been reset. Select the ‘click here’ link to sign in with your new password.